


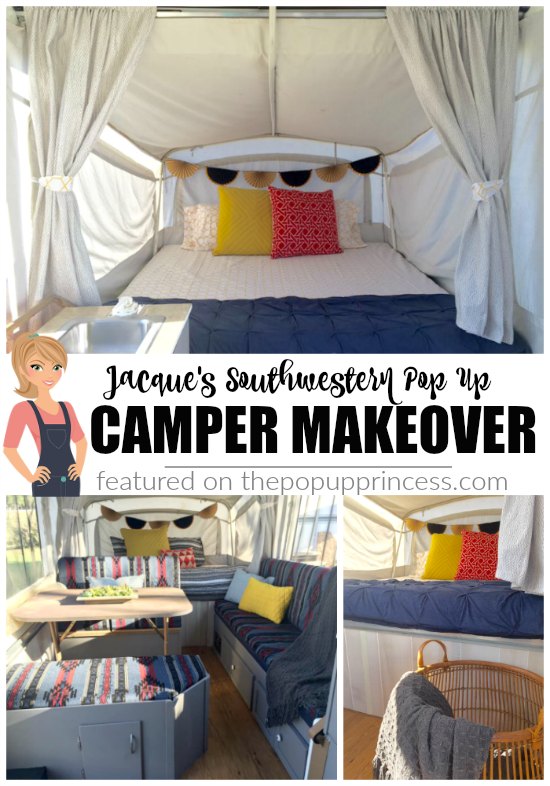
 Back in September, I shared Jacque’s first pop up camper makeover. Jacque was no stranger to RV remodels. She and her family had purchased a fifth wheel camper, remodeled it, and turned it into their home. Shortly after, Jacque was itching for another project, so she purchased and remodeled her first pop up camper. Since it was intended to be a project camper, Jacque sold it, but soon realized she was excited to start another project. She purchased a 1994 Coleman Avalon, rolled up her sleeves, and got to work.
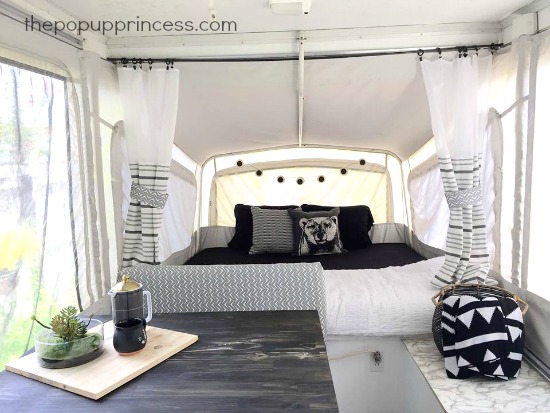 This camper was a much bigger project than the last. It had been sitting covered up and unused for over two years, so it needed a lot of work. It didn’t just need a facelift, it needed an overhaul. Most of the cabinets needed to be rebuilt, the flooring replaced, and the countertops recovered. Jacque was up for the challenge, though, and started gutting it almost as soon as she had the keys.
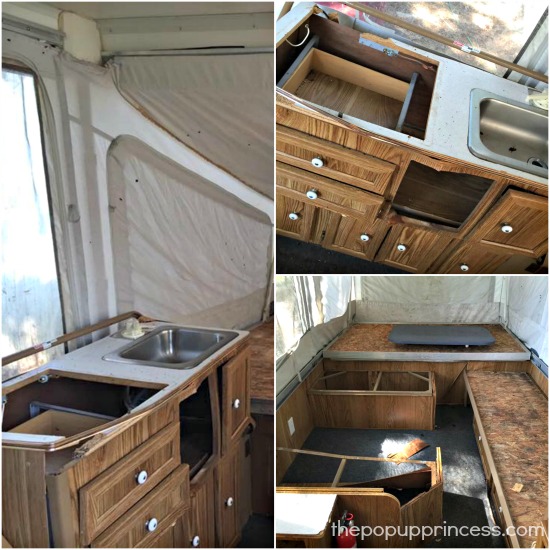 Demo day was tough. The original cabinetry had fallen apart, and some pieces were hanging on by a thread. The carpet was smelly and dingy, and after pulling it up, Jacque realized there was old, nasty linoleum underneath.
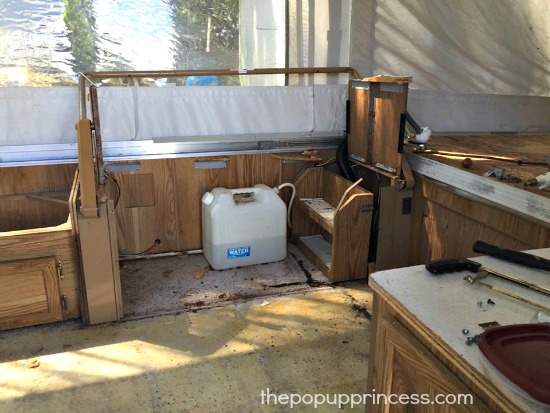 This little camper needed some major TLC. Since Jacque knew she would need to rebuild many of the cabinets, she pulled them out piece by piece, not minding that they were destroyed in the process. I think I might have given up by now, but Jacque was determined. Once the cabinets were removed, she got to work on the floors.
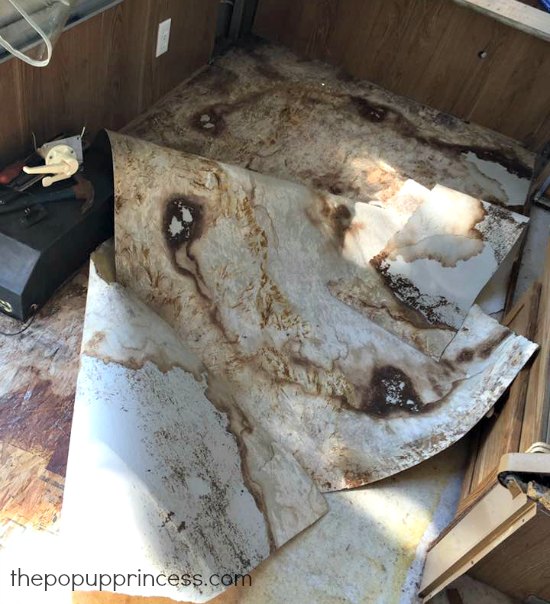 In her previous remodels, Jacque used peel and stick vinyl planks from Lowes, but after pulling up the linoleum in this camper, she realized that the plywood subfloor wasn’t completely smooth. She instead opted to use Home Depot’s TrafficMaster Allure click-lock planks in Country Pine. She bought exactly two boxes and used every single plank.
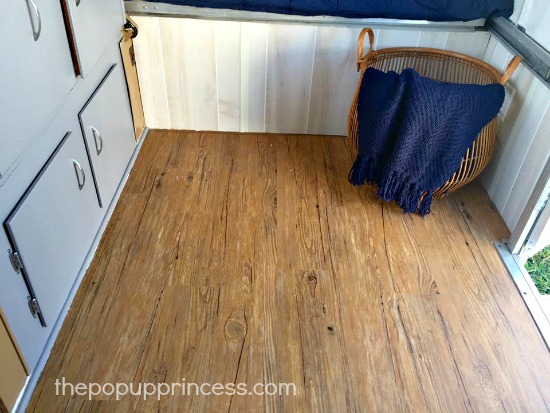
Jacque used a gray color palette in both her other remodels, but she really wanted to have fun with some warmer tones and add more color, which is why she selected the Country Pine flooring. Because she wasn’t able to use the standard white caulk she normally used, she selected DAP Dynaflex 230 Premium Indoor/Outdoor Sealant in a warm brown color to caulk the trim around the floors. She also used it in the area where the floors touch the door threshold and in other small crevices that needed filling. It turned out so pretty. That warm country pine really works with a bright color scheme, right?
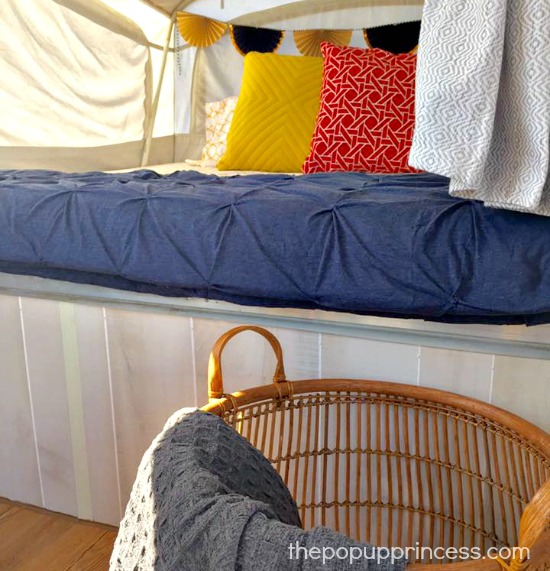 Because it was in pretty rough shape, Jacque ripped out the old paneling in the camper during demo day. She replaced it with a Lake Shore Prefinished MDF Wall Panel from Home Depot. She wanted the paneling to contrast with the floors, and the white washed look of the new paneling was just perfect. To avoid the need for quarter round or trim at the bottom of the paneling, Jacque used the brown caulk all along the edge.
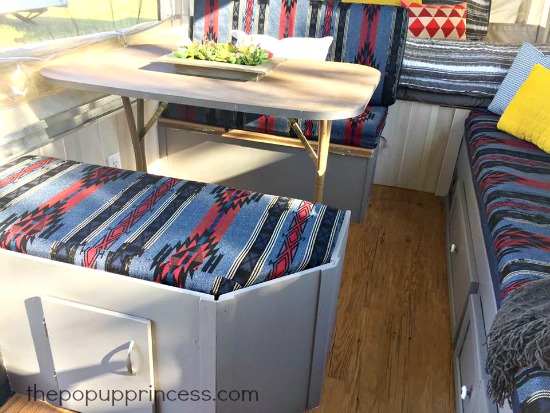 Much of the cabinets needed to be rebuilt, but the seating cabinetry was still in great condition, so Jacque reused it. The original cabinets were perfect for the layout of the camper, so it saved her the hassle of having to plan out a layout and construct new seating. She was not so lucky with the other cabinets, though. They weren’t salvageable, so Jacque hired a friend to construct new cabinetry in the kitchen area. She had a hard time finding cabinet doors small enough for a pop up, so she headed to her local Habitat for Humanity Store. They had an entire corner of the store full of old cabinet doors, which made it easy to find a few that would work for her–and they were only $3 each! Score! 🙂
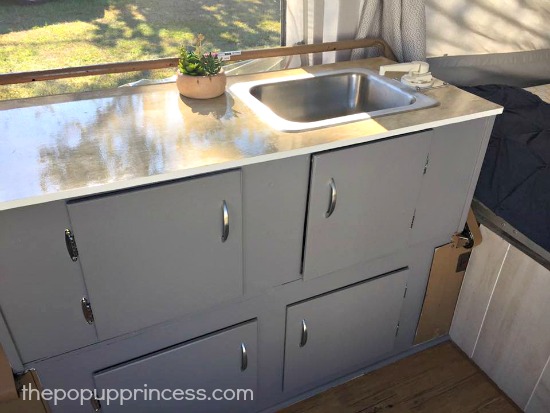 She sanded the doors down and passed them along to her cabinet builder friend. He was able to cut the openings in the new cabinet to fit the door sizes, and it didn’t matter that they were all different colors. After the cabinets were built, Jacque sanded everything, gave it a coat of Zinsser 123 primer, and finished it off with her favorite paint. Now you can’t even tell the doors weren’t original to the cabinet. To finish off the countertops, Jacque added a thick vinyl contact paper that she bought off Amazon. She had used something similar in her last remodel, but this particular vinyl was in a beautiful beige color and matched the decor perfectly.
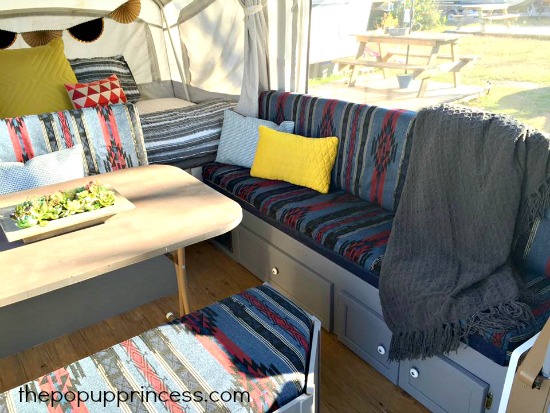 During the demo, Jacque fell in love with the original cushion covers. There was a southwestern vibe to the print, which lent itself well to bright colors. Jacque really wanted to keep those original cushion covers, so she got to work. She washed the covers in hot water three times to get rid of the musty smell. She also changed out the dry rotted zippers and treated them with a stain blocker. Jacque says it was worth all the work, as she often gets asked where she got material for the cushions. People are shocked to find out that they are original to the camper. They really set the whole theme for the camper.
After all the remodel work was done, Jacque was ready for the fun stuff–decorating! All of her decor came from a local salvage store called Dirt Cheap. They get all of their inventory from a nearby Target, so Jacque ended up with some great pieces. I love how those bright colors compliment the pattern in the cushions. What a fun space!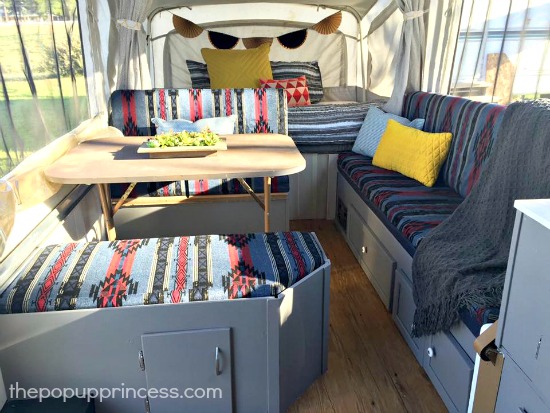 Thanks so much for sharing your fun remodel project with us, Jacque! It looks amazing. Have you been working on a fun remodel project of your own? I would love to feature it here on the blog or on the Facebook page. Click here to get all the details on submitting your remodel project for a reader feature! I can’t wait to see your projects. 🙂
Happy Camping!
Disclaimer: This post contains Amazon affiliate links. The Pop Up Princess is a participant in the Amazon Services LLC Associates Program, an affiliate advertising program designed to provide a means for sites to earn advertising fees by advertising and linking to Amazon.com. This means that if you choose to purchase an item from a link in this post, The Pop Up Princess earns a small advertising fee to help pay for future projects and posts… so thank you! 🙂
Happy Camping!

Beautiful! Those cushions really make this remodel. I like how you salvaged some of the original bones and built around that.
We bought a pop up a few weeks ago, and Dirt Cheap is where I went to get everything for it! Hello Target accessories for 75-90% off!