Not long after buying their A-frame camper, Shawna and Ernest discovered what they had actually purchased was a huge remodel project. With a lot of hardwork and determination, they turned that run-down Chalet into their dream camper.
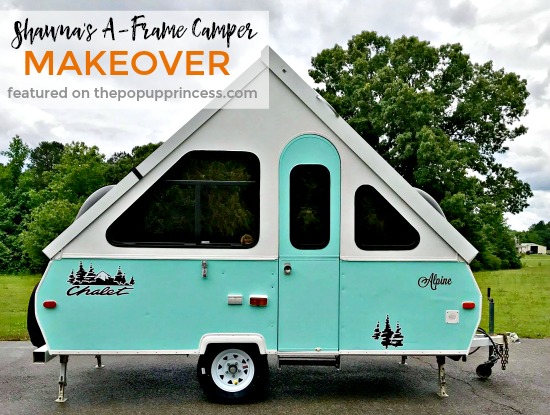
This next camper remodel is absolutely incredible. I’ve featured quite a few renovations that have required some form of rebuilding, but when Shawna purchased her little A-frame camper, she had no idea such a massive project would be in her future.
SHAWNA’S A-FRAME CAMPER MAKEOVER
Shawna’s journey began when she and her husband, Ernest, went to visit some friends who were camping on Labor Day. Their friends all had pop up campers, and they really seemed to be enjoying themselves. Shawna was impressed. So much so, that as she left the campground, she and Ernest began discussing how they might like to look for a camper themselves. Being on a budget, they knew they could not afford to buy a new camper, so they decided to start looking for one that needed just a little TLC.
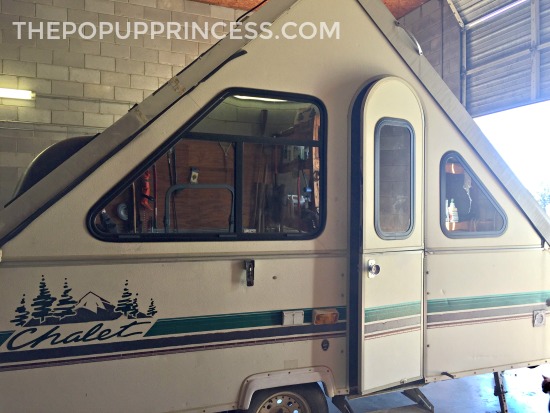
Shawna searched for a few weeks, and most campers she looked at were in terrible shape. She posted an ad on a local buy, sell, and trade site, and an individual who had a camper for sale contacted them. He had a 1995 Chalet Alpine A-Frame hard-sided pop up. Shawna and Ernest had never come across one of those before, so they were immediately interested in it. They set up an appointment to go look at it and fell in love with it the minute they saw it.
The camper did have a few issues. A tree had a tree fall onto one of the back corners, which caused some cosmetic damage. There was water damage to that corner as well. The previous owner also told Shawna that the floor around the door and one ceiling panel would need repair due to water damage, yet the camper did not smell wet, and the floor did not feel soft. Shawna and Ernest talked it over and felt like they would be able to handle the amount of work needed to fix it, so they purchased it and brought it home.
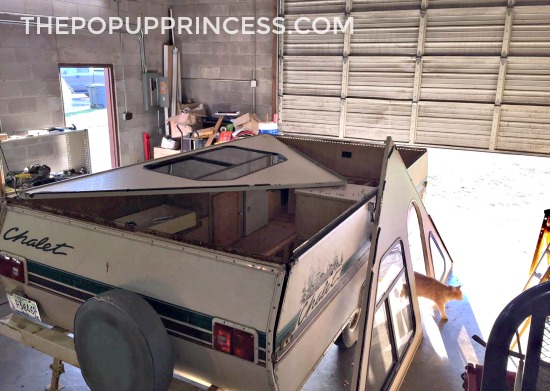
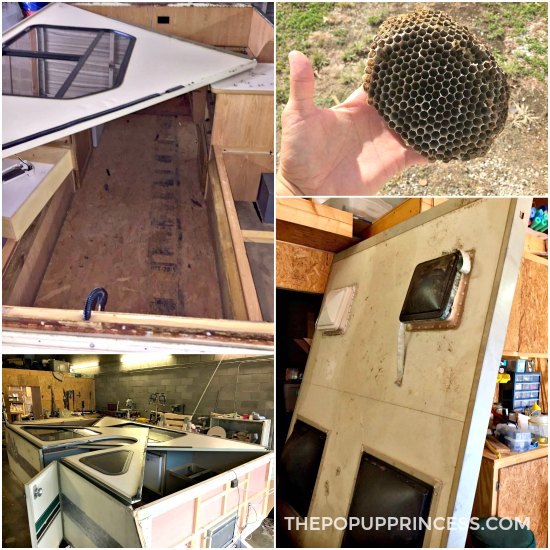
The very next week Shawna and Ernest began to work on the camper. When they opened the cabinet that housed the power cord in order to check out the electrical, they found a massive red wasp nest. Thank goodness no one was stung! 🙁 Next they removed the old, dirty carpet and noticed a newer piece of plywood covering the entire floor. When they peeked underneath it, they discovered it was covering up a completely rotted floor. It was so rotten and damp, in fact, that Ernest actually scooped the flooring out with a shovel. At that point, they finally got a clear picture of what they were dealing with.
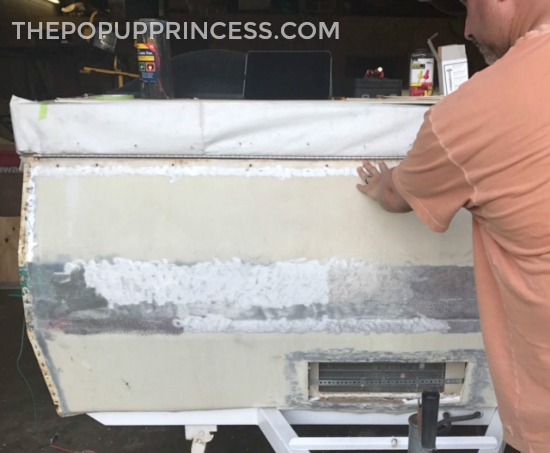
Ernest began to tear the camper down piece by piece to see how the damage would unfold. He had to remove every single screw, panel, side, and top panel on the camper. They discovered that both the front and back panels, all four corners, and four interior storage compartments were also rotten. Half of the top panel by the vents was also rotten. It was devastating to Shawna and Ernest. They were determined to rebuild the camper, so they started researching and looking for help. Ernest worked on the camper in the evenings and weekends, tearing pieces off and cleaning up what he could salvage.
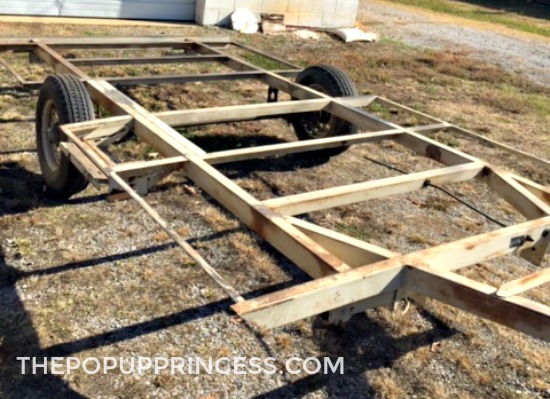
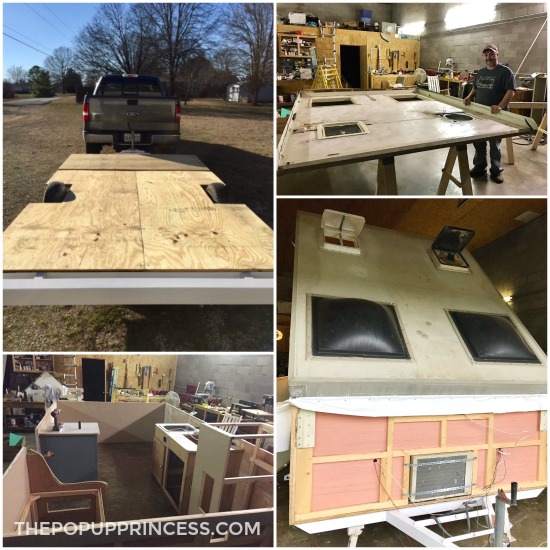
He took their A-frame camper down to the bare metal frame and completely started over. Luckily, he is a wood worker by hobby and was able to rebuild the pieces he needed. Shawna was amazed. She watched him work his magic, and somehow the camper begane to take shape again. Ernest started with a new floor and went up from there. Every single part had to be cleaned or stripped. Silicone caulking had to be removed. All the prep work seemed like it would take forever.
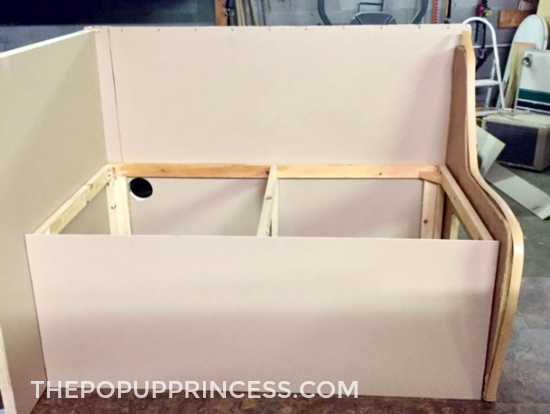
During the demolition phase, Shawna began to research ideas for the inside and outside decoration. She found the amazing reader features here on this blog and was inspired. While Ernest was rebuilding the bones of the A-frame camper, Shawna began designing the inside. She bought vinyl adhesive flooring tiles from Lowes and installed them on the new floor. Then Ernest began building the cabinetry inside.
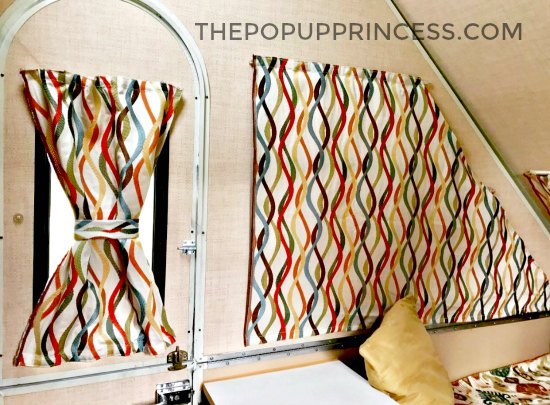
Shawna took the old curtains out and began working on new ones. She liked the original curtain attachment system, so she took a seam ripper to the old curtains and removed the original clips. Shawna’s mom helped her take the old curtains apart and use them as a pattern for the new ones. They saved the original curtain track and remounted it on the new walls.
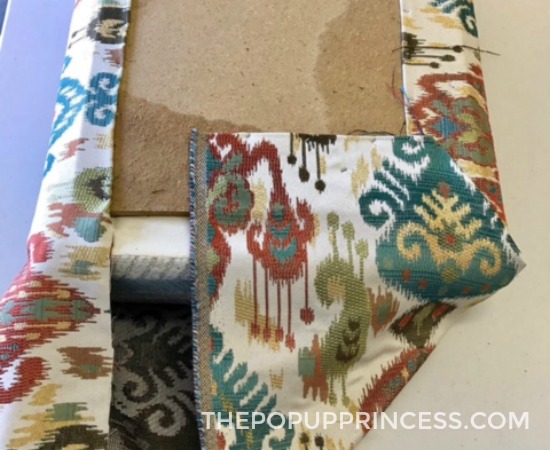
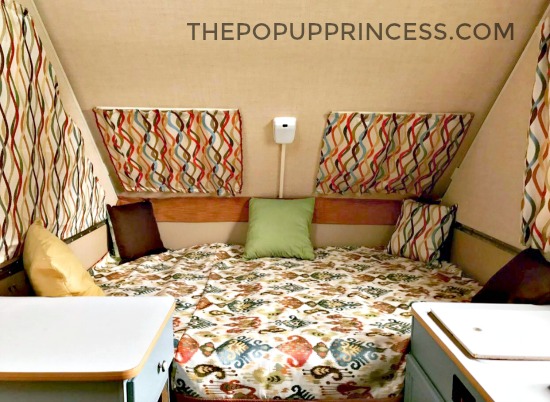
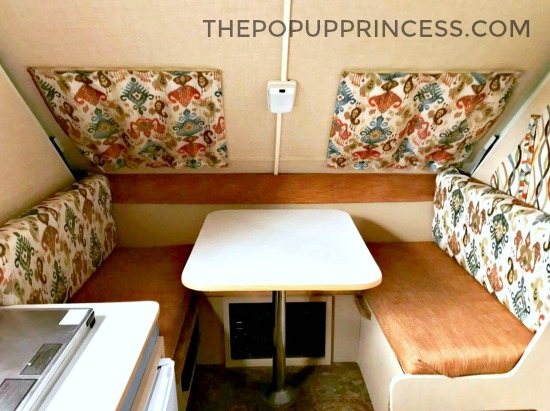
Next up was the cushions. Shawna researched the easiest way to recover them, and found several featured readers here on the blog loved the ease of the wrap and staple method (more about that here). This worked perfectly for Shawna, and she even had fabric left over to make a matching bedspread. After all the frustration and hardwork, the A-frame camper was finally starting to come together nicely.
While the walls and sides were still off of the camper frame, Shawna painted and wallpapered them in khaki textured raffia wallpaper from Lowes. Since they had to replace half of the wall panels, this helped blend the old and new panels together. The wallpaper was pre-pasted, but it is so humid in the South where Shawna lives, that she also used wallpaper glue for good measure.
After what seemed like ages, Ernest and Shawna began to put the camper pieces back together. Shawna’s dad is a retired commercial plumber and electrician (lucky girl! 😉 ), so he was able to take care of the plumbing, electrical, and gas hookups for them. Then they assembled the camper top ceiling panels and put them back on the camper. After over 7 1/2 months, they could finally see the finish line.
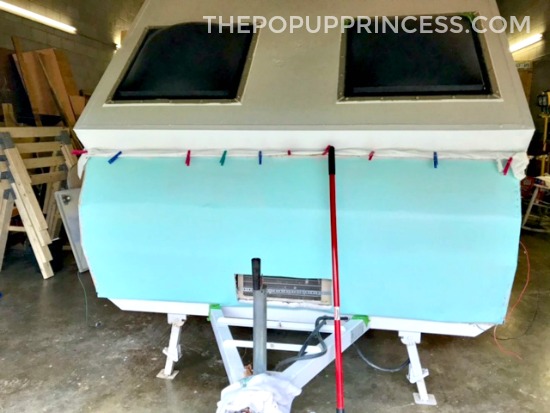
They had only the exterior left. Shawna had researched many different types of paints, but wasn’t sure which way to go. Because the camper was older, it did have a few dings and character marks. Shawna wanted to cover some of those if she could. They did not have access to a paint sprayer, so they also knew the paint they selected would have to be rolled on. After seeing our post on repairing an ABS camper roof here, Shawna found her solution. They used fine grain Grizzly Grip bedliner to paint the entire exterior.
They chose the color Snow White for the top and Gem Green for the bottom. It was a breeze to apply, and it looks amazing. Ernest rolled on two coats of each color, and which was the perfect coverage. After the paint, he began putting the trim back on. He replaced the tires, wheel bearings (see our tutorial here for more info on that), the spare tire, and spare tire cover. Then they added new vinyl graphics. Now it’s like a whole new camper! 🙂
And Shawna and Ernest could not be happier with the way their little A-frame camper turned out. They took it out for the first time last summer and could hardly get settled in before several people in the campground came by to see it. They were so proud of all their hard work. Shawna says it rained the entire trip, but they stayed warm and dry in their new retreat. It didn’t leak a drop.
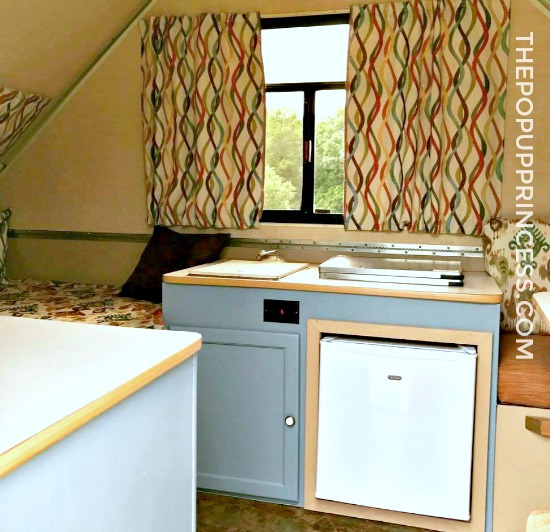 So how do Shawna and Ernest feel now that this big project is over? Shawna writes, “This camper is so special to us, and we owe a big thanks to The Pop Up Princess community for giving us such fantastic ideas along the way. We encourage anyone to take the leap. It was way above our skill level, but with research and time you can do it.”
Amazing, right? I would be crowding around it at the campground to get a better look, too. 😆 Thanks so much for sharing your journey with us, Ernest and Shawna. I know you’ll have many more amazing adventures in it, and they will be all the more special because of the hardwork that went into getting you to this point.
Happy Camping!



Love your choice of fabric! This is what I want to do with our bumper pull. Beautiful.
the colors, inside and out, are so attractive. I am very impressed with the work they were able to do on the camper.
What a great job! I love the curtain fabric. Where did they get the new vinyl graphic from? I removed ours last fall so we could paint but have had no luck finding a replacement.
What a wonderful renovation! We jus bought a 1994 chalet camper that needs a lot of work too (but fortunately not as much as yours). I’m definitely going to borrow some of your ideas!
Wow! That is one lucky little camper! I hope you make many happy memories with her!
Love it! We have a 1994 chalet and are thinking of repainting it too. Where did you get the replacement decals?
Could you please share where the decals where purchased? We are renovating our 94 chalet and haven’t found a place that sells them. Thanks 😊💗
Was there anyway to replace floor without tearing camper all apart?