


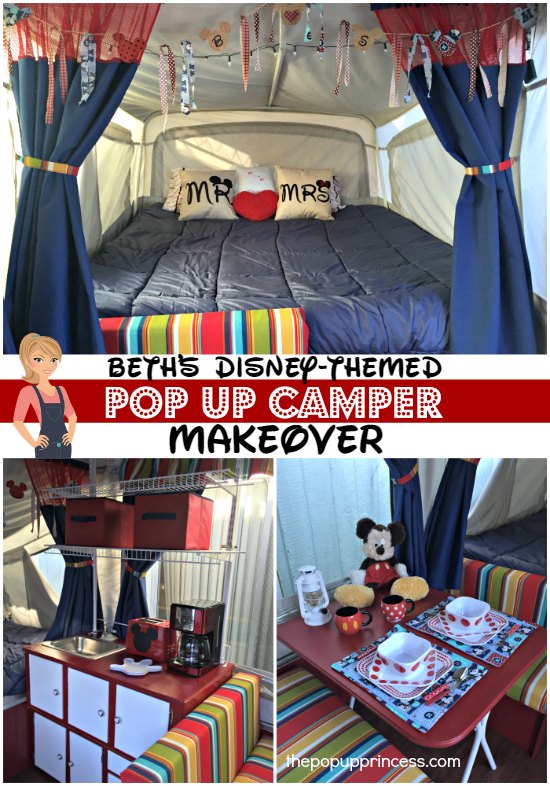
We are huge Disney fans over here–in fact, we just returned from a Disneyland trip last week–so I’m thrilled to bring you this next pop up camper makeover. Themed camper remodels are so much fun, and Beth’s is fantastic! She used many of the tutorials found right here on The Pop Up Princess, too. Here she is to tell you all about it…
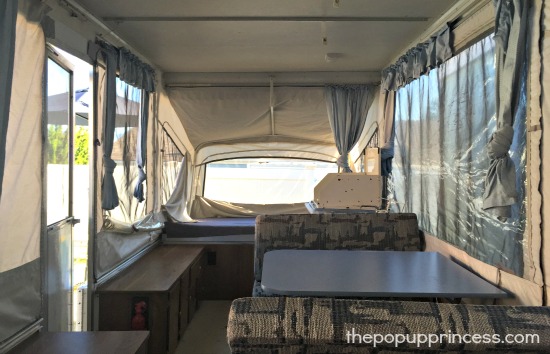
We bought our pop up camper–a 1994 Coleman Destiny Royale–in August, but knew we wouldn’t be able to make any trips anytime soon. We both work full time so we had to work on it slowly, mostly on the weekends.
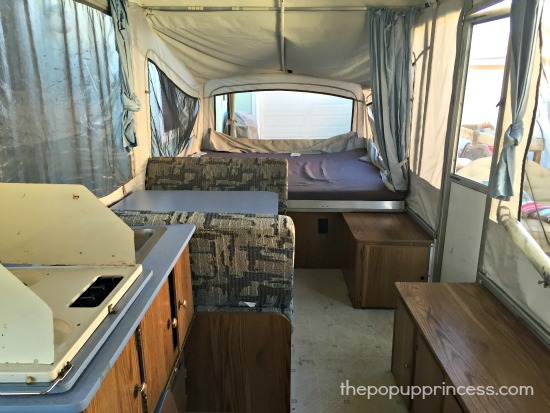 It was in relatively good shape and only needed minimal repairs, but we wanted to make it more homey. Okay, I admit, it was mostly me, since my hubby really just needs a bed, food, and coffee, but he humors me. 😉 We also wanted to make some mods that would provide more convenience while camping. My favorite color is red, my hubby’s fave is blue, and we’re both Disney/Mickey fans–so that became our decorating theme. We named our PUP “Minnie,” because our dog’s name is already Mickey.
 Thankfully my hubby is a handyman, so he was able to do all the repairs, plus all the “honey-do” requests I had. We really can’t credit for any new modification ideas, since nearly every mod we made was found here on the Pop Up Princess! (You can find the shelving tutorial here.)
I wish I could give credit to each one of you, but don’t remember where I got what. Just know that if it looks familiar, and it looks like your idea, it probably was! Thank you! 🙂
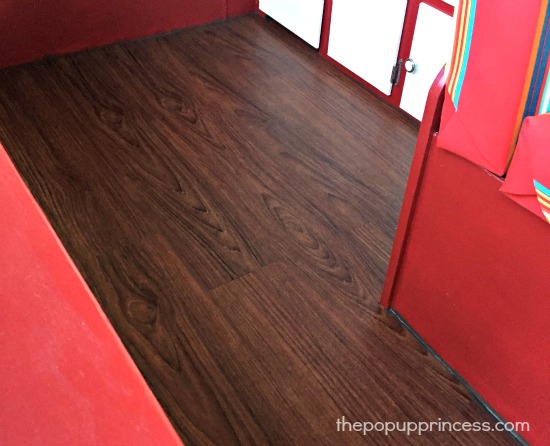
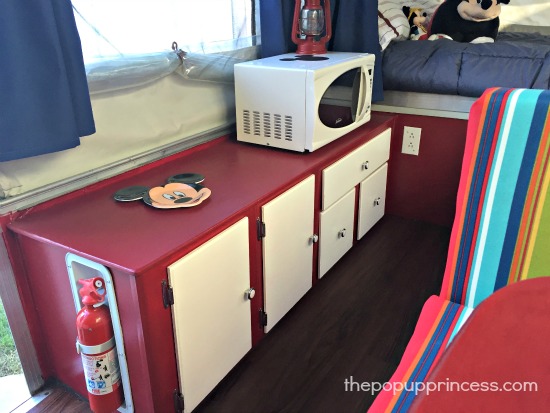 I painted all of the cabinets which took three coats of paint. We removed the doors and drawers to paint them, and added new inexpensive knobs. My husband put in the vinyl “wood” flooring, which I love.
 I really didn’t know how to sew AT ALL, but I bought a used machine on Craigslist and read a lot of tips online. I’d like to say it was easy, but it wasn’t! There was a huge learning curve. (“Oh! You have to adjust the tension on the machine when using heavier fabric? Oh! There’s a tension adjustment on the bobbin too? You get the picture… ;-( ) I wanted to have mesh fabric on the bed curtains for ventilation and was going to use white, but when I found the red in the clearance section, I had to go with it! It was very challenging overall, but I’m happy with the results and proud of myself for hanging in there.
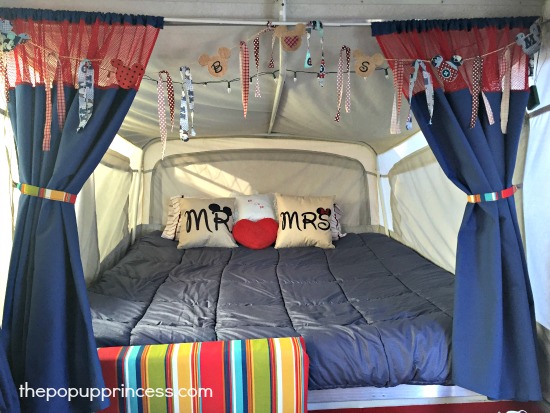 The curtains are made from duck cloth, and the valances are outdoor fabric. I hunted down the best deals I could find–I love coupons! I attached the valances with Velcro. Did you know they sell Velcro that has adhesive on one side, which went on the existing valance rail, and non-adhesive that was sewn onto the fabric. Someone at the fabric store initially told me this didn’t exist so I was going another route until I learned this existed. I worked perfectly.
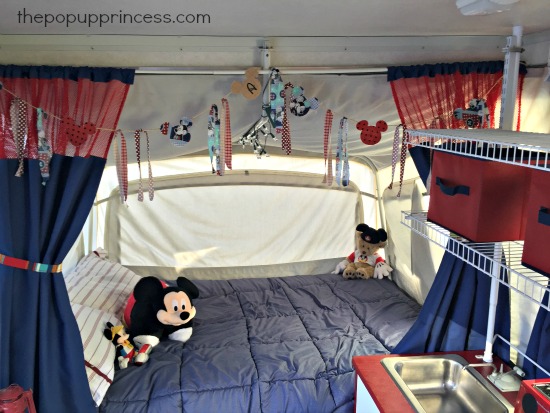 The curtains over the bed are hung with a tension rod, but the curtains over the windows were trickier. We used a metal conduit pipe and clips that my hubby bent and slid in to the existing rail. I don’t care what it looks like because it doesn’t show under the valances. We think we’ll be able to leave them up when closing the PUP, but if not, the rods will pop out and we can store them under the bed with the bed curtain rods.
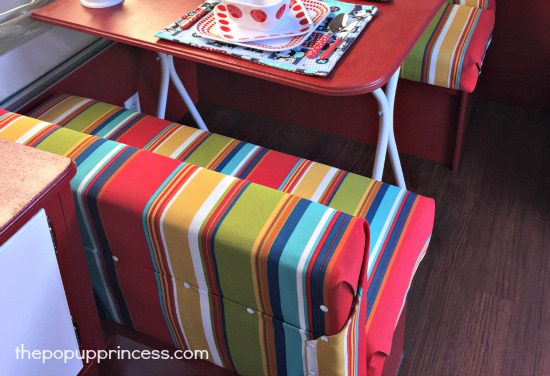 For the dinette cushions, I went with a no-sew method. I used decorative white upholstery nails, which you can see on the back of the cushion. I left the original fabric on to provide extra cushioning, since it was in pretty good shape.
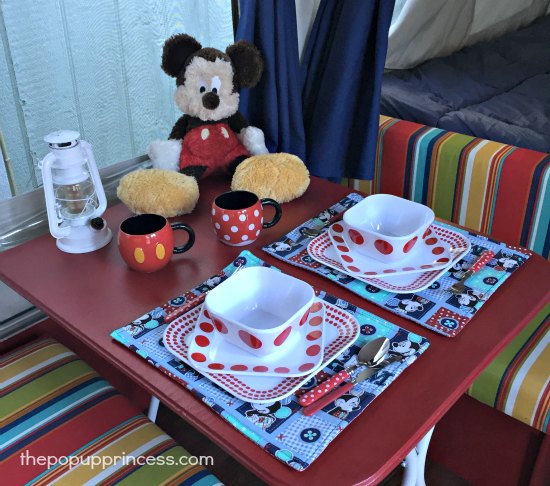 When getting ready to paint the table we weren’t sure if the paint would adhere… so my hubby just made a new table top! We kept the old one, which we will use inside when making the dinette bed (for our dog), but can use the new one with legs outside.
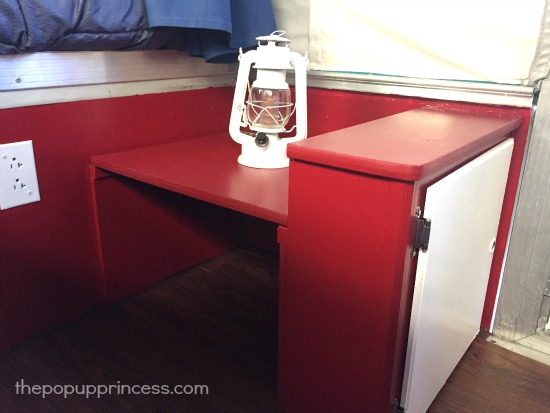 He also modified the potty cabinet, so it now has a hinged top that I can just lift to use. I bought a blue and red curtain that I plan to attach to the roof with Velcro for privacy when our stepson is with us.
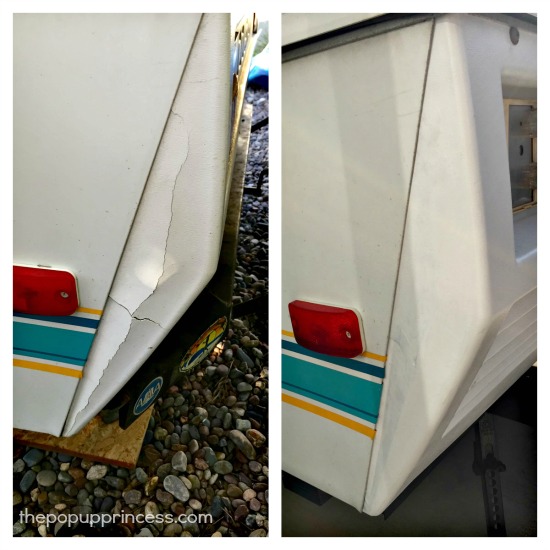 There were also two places on the body that needed repair. One was more difficult than the other because there was missing fiberglass, but I think my hubby did a great job. You can’t tell it was ever cracked.
Wow! That end result is SO worth all the hard work they put into it, right? I absolutely love that Beth taught herself to sew in order to complete her pop up camper makeover. That is dedication! Great job, Beth (and hubby). 😉
Does your pop up camper have a decorating theme? I’d love to hear all about it. Send me an e-mail and you just might be featured on the blog!
Happy Camping!

Love it!
Thanks!
Great Job! Love the Mickey & Minnie theme. My daughter-in-law might actually go camping in your “Minnie” as she is a huge Disney fan. Getting ready to start our rehab and like you will be using lots of ideas from this site. Happy Camping!
Have fun with your re-do! 🙂
How cute is this camper now!? I love the Disney theme! Way to go Beth (& kudos to your handyman hubby).
Thank you! I could never have accomplished this without him!
Love the theme, pillows are adorable!!!
Thank you! I got the pillow covers on Amazon, then bought the pillow forms at JoAnns. I was so excited to find them.
I love the white decorating nails for the seat cushions. What a great idea. I stapled mine but the staples can feel rough at times. I love Disney too!
Thanks! It worked pretty well. The only thing is they are like painted white so the paint can get scuffed up, but I can always retouch them. Might be easier to use a color of nails that aren’t painted.
Hi, Great job with your renovations! I am so excited because we are starting phase 2 of our renos tomorrow. I was wondering what you did with the old stove? Did you just remove it? Also, it looks like you painted the counter tops. Did you? If so, what did you with the sink? We are not big DIYers, so any help is greatly appreciated!!!! Thanks 🙂
Yes we just removed the old stove. Everyone who has a PUP told us that they don’t use it and only cook outside. We will use our small portable stove outdoors. As for the sink, we kept it (you can see it in the pics), but we flipped it to the other side. The only reason for that is my hubby made a little boo-boo when making the new top. He had the piece flipped over and cut out the side hole on the left instead of right, which is where the sink was originally. Then he just moved the plumbing over a little and it works fine.
OH I missed one of your questions about whether we painted the countertops. We were going to but weren’t really sure how…it looks like the paint would just peel off. I know there are ways to do it, but rather than research it, my hubby took off the old one and used it as a pattern to make a new one out of wood that he had leftover from another project. The same with the dinette table. But we kept the old dinette table top, then we can leave the dinette bed made up with the old table top AND use the new one outside.
Curious if you can give me some direction and advice on the potty area. I have this exact model and want to do the same thing. It’s beautiful. I almost went with a Disney theme.
Where did you get the fabric for the dinette? I love it!
Great job! I love the colors! We have the same color scheme on the exterior and have some damage as well. I was wondering if you could tell me what products you used to fix it? Did you follow Larissa’s tutorial?
Awesome! Can you ask your hubby how he determined how much laminate to buy? I’m redoing my floors in my new to me 1994 Destiny Royale!
Thanks!
Heather