


 I’m so excited to bring you a fantastic pop up camper makeover from fellow bloggers, Jason and Mandy, over at Campfire Travelers. They are a cute little family from Colorado with a wonderful blog about experiencing the great outdoors with your kids. Last year, Mandy had visited the blog to ask questions about cleaning her canvas. I stopped by their blog and was so impressed by the amazing results they achieved (you may remember I mentioned it here). Well, I’ve been watching their camper remodel progress, and I was so excited when they posted their big reveal. I just knew I had to share it all with you. Let’s start at the beginning, shall we?
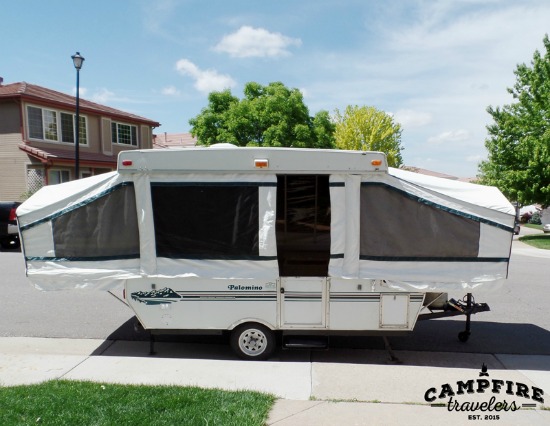 Last year, Jason and Mandy purchased a pop up camper for their young family. They had previously been tent campers, and were looking to upgrade. They knew this little RV would be perfect for their family. The only hold up? It needed some major TLC.
 This little PUP had suffered from a few years of neglect, so there was some water damage to the floors and major mildew on the canvas.
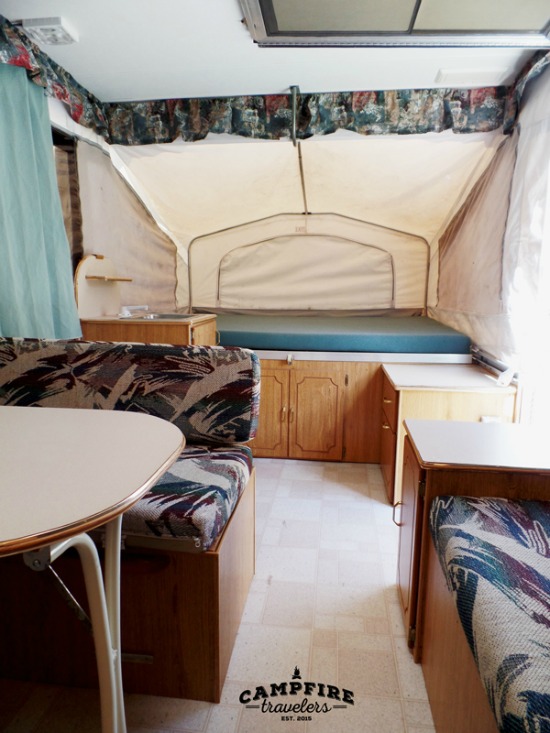
Jason and Mandy weren’t to be discouraged by the amount of work their new home away from home needed. They rolled up their sleeves and got to work, stripping out all of the curtains, cushions and cabinet doors… oh, my! 😉
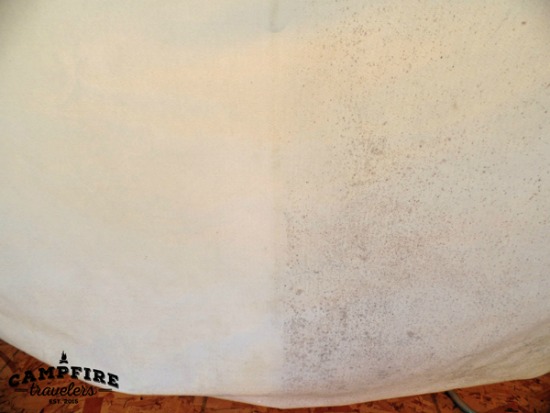
In attempt to salvage the existing tenting, Jason and Mandy used Bass Pro Shops Mildew Stain Remover to remove the mildew. It was just the thing for the job. Look at those results! Wow! You can read all about that adventure here. As a side note, this stuff is pretty harsh, so I wouldn’t use it for your annual cleaning. It sure does an amazing job on mildew, though. 😀

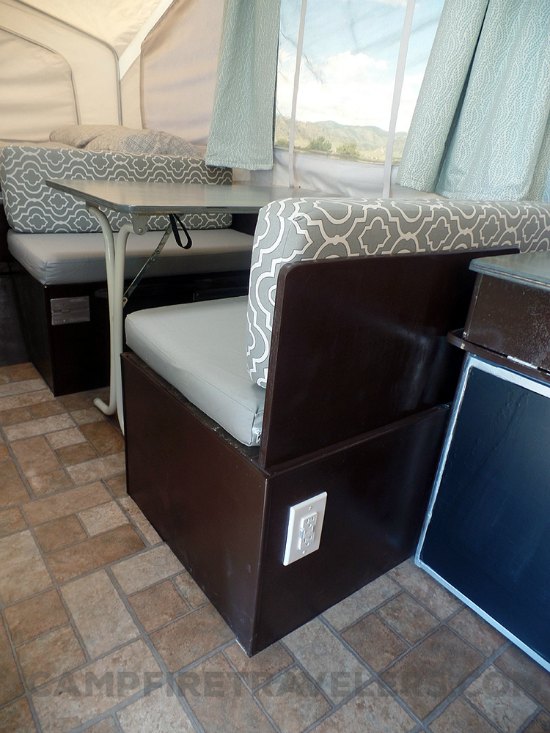
Now that the canvas looked brand new, they started working on the interior of the camper. The first major project was painting the cabinets. Jason and Mandy liked the look of Cyndie’s Pop Up Camper Makeover and wanted to achieve a similar look. They opted to paint the cabinets a rich, chocolate brown color using Rustoleum spray paint.

They also removed all the hardware and gave it a good coat of primer and brushed nickel spray paint. After a failed attempt at spray painting the fridge, Mandy took a cue from our remodel and covered her mistakes with adhesive chalkboard vinyl. I love the way it looks with those chocolate cabinets. Nice job, Mandy! 😀
Next it was on to the floors…. Jason and Mandy loved the look of the dark plank vinyl we installed in our camper, but they were afraid that, with the dark cabinets, it would be just too overwhelming. They agreed instead on a beautiful adhesive “peel and stick” vinyl tile from Home Depot. It’s light enough that it provides the perfect contrast with the dark cabinets, and it was easy to install, too.
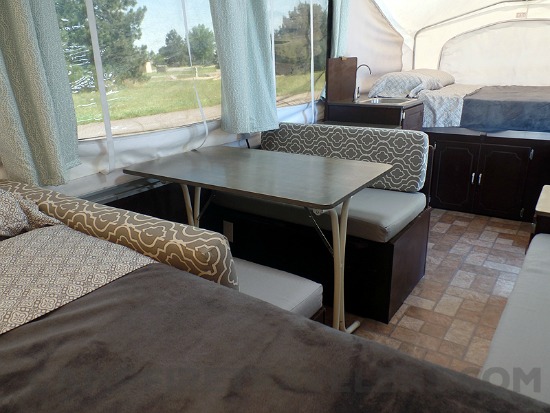
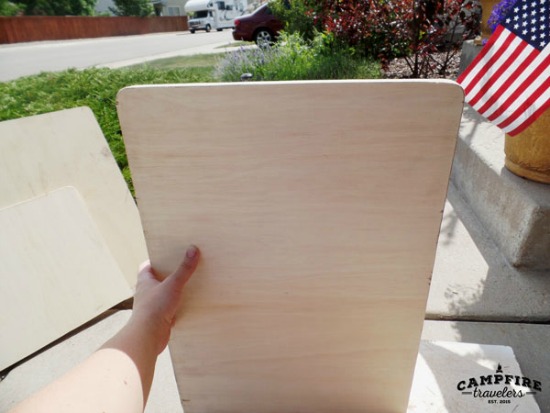 Because the existing countertops and table were so damaged, Jason and Mandy had to replace them completely. They cut new counter and table tops from MDF with a birch overlay. They used a beautiful gray Rustoleum stain to give them some depth and color, and finished them off with several coats of polyurethane. The new countertops look amazing, don’t they?
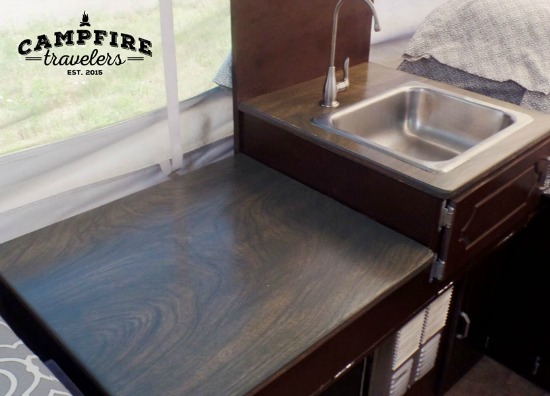
Since they were replacing the countertops anyway, Jason and Mandy really wanted to replace the sink faucet as well. Their family primarily camps with hookups, so they really didn’t use the water tank. They got rid of the broken pump faucet and replaced it with a brushed nickel one. They also removed the tank to allow for extra storage space. If they happen to camp somewhere without water hookups, they simply revert back to their tent camping ways and bring a container of water inside.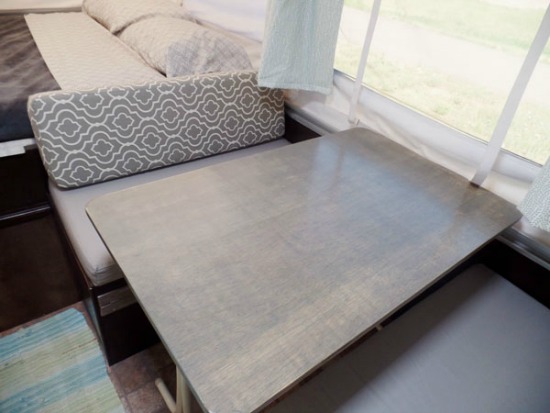
Now they finally were starting to see the light at the end of the tunnel, and good thing, too, because they had to finish this remodel in time for their impending summer trip. With only a few weeks left, Mandy took on the cushion upholstery. She removed the old covers and used them as a pattern to construct new ones. She was pleasantly surprised to find the original foam was in fabulous shape, so she was able to reuse it. She was even able to use the original zippers. She chose a durable duck cloth fabric that would be easy to clean and complemented her color scheme. What a great choice! I love that pattern.
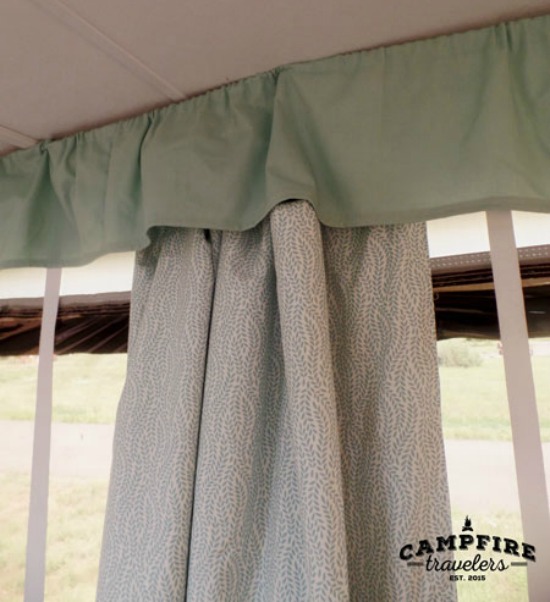
While Mandy really loved her neutral color palette, she knew she’d need to break away from it a bit and add an accent color. The curtains seemed like the perfect place to do this. She and Jason were in agreement on the color–aqua–but they just couldn’t find a fabric they liked. Mandy found some inexpensive sheets at Walmart that proved to be the perfect solution. She purchased some Roc-Lon blackout liner to give the curtains some weight and ensure privacy when they were closed. She used Airstream Drape Carriers (you can read about that here) to replace her old curtain tabs. Worked like a charm! 😀
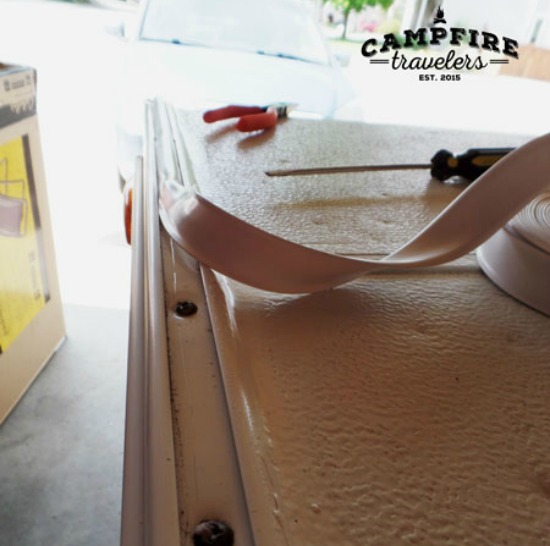
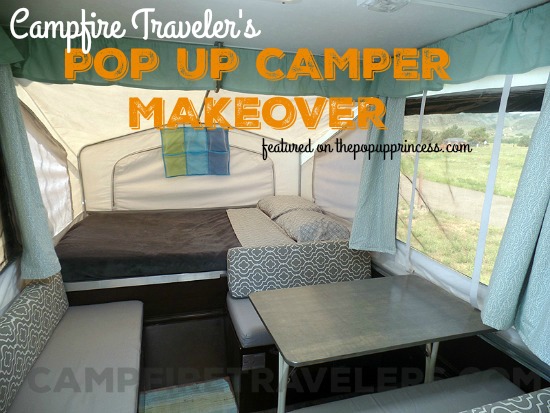
They finished their camper remodel just in time for their summer vacation to Mount Rushmore, and doesn’t it look amazing? Jason even had time to replace the vinyl trim on the roof of the camper and change out the outlets.
 It all came together beautifully. I’m loving that chocolate color–and what a perfect way to hide the dirt that inevitably comes with three little boys, right? If you want all the details on Jason & Mandy’s remodel, they did a great job of blogging throughout the entire process. You can find all their tips and tutorials here. While you are there, check out their camping tips and trip details. It’ll make you want to hit the open road right now! You’re welcome. 😉
Happy Camping!

Thank you so much for featuring our little camper Larissa!! It was a labor of love!
Thanks for sharing, Mandy! It looks amazing. 🙂
Hi Mandy,
The camper looks sweet. The faucet height doesn’t interfere with the slide-outs or roof closure? I’ve got like 5 inches to work with and I’m bummed. Am I missing something?
Thanks,
Bill
Larissa has mentioned in other posts, I believe, that they just unscrew their tall faucet before lowering the pop-up. (I hope I’ve got that right.)
I LOVE THIS WEBSITE! The inspiration from other PUP owners is fantastic! Between the different design elements to the tutorials, the ideas are endless! Thank you so much for including pictures of all the udpated PUPS – each one is FANTASTIC!
Thanks, Susan! It’s my little addiction! I love seeing the before & after pictures just as much as you do! 😉
I’m almost finished with upgrades to a 2004 Coleman Utah and would love to send pictures when it’s complete. The color scheme is very similar to Mandy’s except we painted our cabinets gray and are planning to install gray wood-look vinyl planking over the existing linoleum the next time we bring the pop-up home from storage. We can only keep it in our driveway for 48 hours twice a month, so we really have to be efficient whenever we do!
Oooo! I can’t wait to see it. We deal with an HOA, too. It’s a pain for sure. Someday, we’ll have an RV garage and workshop. (A girl can dream, right? 😀 )
Love it. We bought an elderly lady and gave her a make over. She looks awesome now. To many grandchildren so we bought another to make over. We are from the Northeast and had a had time finding the perfect fabric. Do you have any source suggestions. Again, congrats. Well done.