


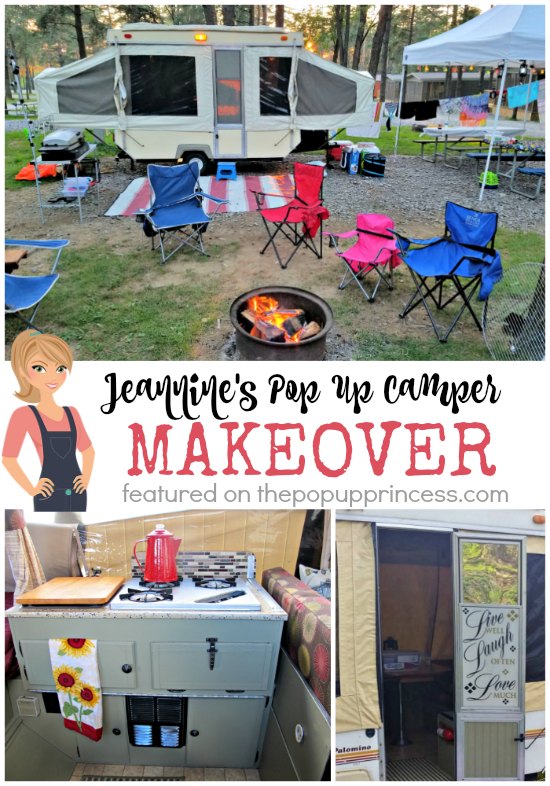
 I love hearing that the blog has inspired people. When I get those types of emails, it really makes my day. I know that we are so glad our little family made the decision to buy a pop up camper and see more of the world around us, but sometimes I feel a bit crazy when I tell my friends and family about our adventures. So I love hearing from other people just like us–people like Jeannine. Jeannine and her husband, Scott, had been pop up camper owners for years. They had purchased a 1987 Palomino Colt pop up camper from a friend six years ago. It was in great condition, but over the years they just hadn’t used it as much as they would have liked. Their girls were young, and taking little ones camping was a daunting task. As the kids got older, they decided to use the camper more often. In late March, Jeannine was searching for some new outside light covers when she stumbled across the blog and was inspired. She convinced Scott that they could make their own camper feel a little more like home, and armed with all the ideas from the blog, her 8th grade sewing skills, a cast iron sewing machine from 1954, and her Paypal account, Jeannine got started. 😀
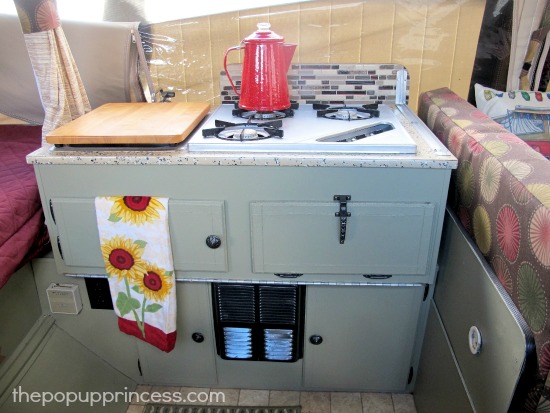
Jeannine and Scott chose Reclaim paint in Sage Green. Jeannine tells me it is a bit pricey, but there is no need to sand or prime, which was a total time saver for her. They live in Buffalo, NY , where the weather doesn’t break until mid-April at best, so they were looking to save time wherever they could. Jeannine tells me that the paint is really thick, and she only needed two coats. They even had half the gallon left for another project. They used the Reclaim Clear Multi Purpose Sealer to add durability, which also gave the finish a little sheen.
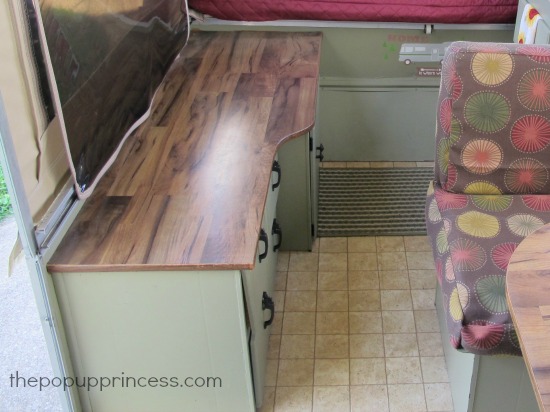
Jeannine spray painted all of the original hardware black because she really liked the detail on it. Although she’d picked out fantastic Allure flooring, she thought the current floor was a nice, neutral color and in fabulous shape – no scratches, stains or tears — so she couldn’t justify changing it. She did find two rubber-backed throw rugs in sage green on clearance for $5, and brought those in to add some visual interest.
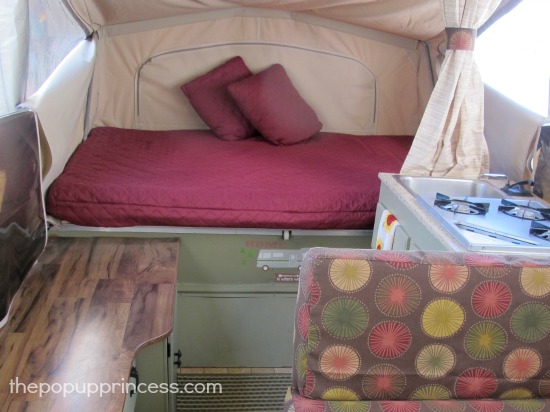 Jeannine purchased interlocking floor mats for the slide out beds, and was surprise at what a difference that made. If you’re curious about that, read our post here on making your pop up camper more comfortable. Jeannine’s camper beds, are an odd size (48 x 72) and finding new mattresses was a challenge. She finally found hide-a-bed mattresses on Amazon that worked perfectly. She wasn’t so lucky at finding mattress covers, so she made them out of four quilted couch slip covers that she found at a discount store for less than $20 each. She cut off the parts that cover the arms and made the mattress covers out of the large rectangle pieces. She also sewed in a zipper. Jeannine says that next to the kitchen area, the mattress covers were her favorite part of this makeover. They are washable, soft, and give an extra layer of cushion to sleep on. She also put a waterproof cover on top of the mattress, inside of the quilted cover, to protect her new beds. Pretty great idea, right?
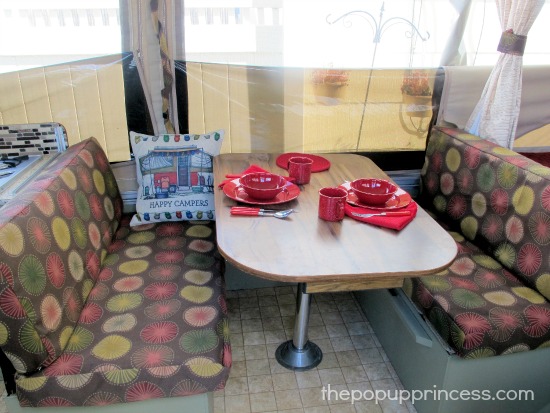 Jeannine purchased new foam for the dinette area and sewed the cushion covers. She used outdoor fabric for the cushion cover and valances, which she got on sale for 50% off. The valance fabric is the same print as the cushions, but in a coordinating color. The bunkend curtains were 63″ panels that Jeannine hemmed to length. Then she added replacement curtain tabs, which she found on Amazon. The camper didn’t have any curtains before Jeannine got to it, and she loves the difference. Her bunkends stay warmer at night, and the curtains block the early morning sun. Her girls love having their own little space, too. 🙂
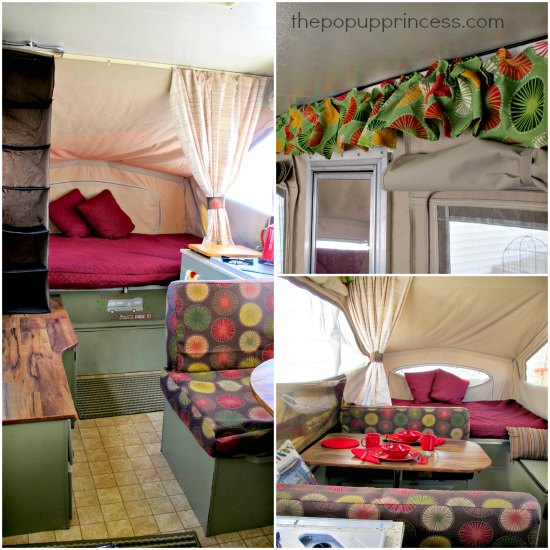
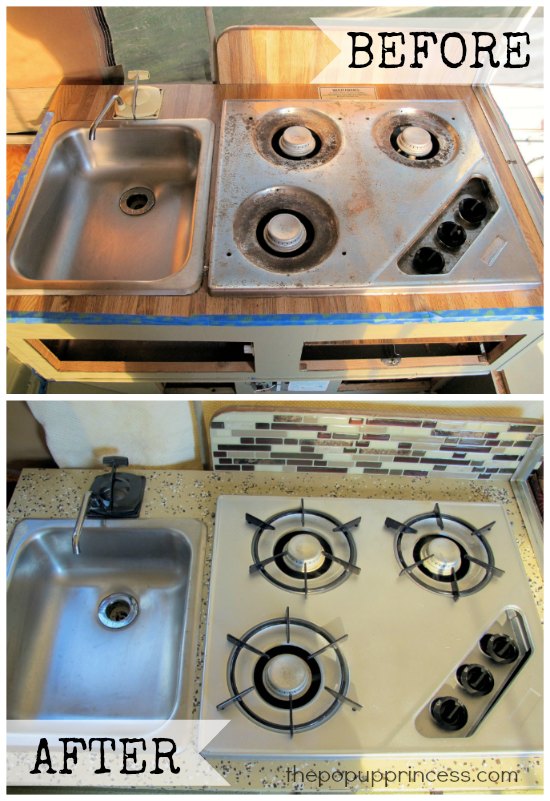
Jeannine and Scott removed the icebox, plugged the drainage hole, and built a hinged cover for the top. They now have more storage space than before, and the area doubles as seating. But Jeannine’s favorite part of this makeover was the kitchen. She used high heat spray paint to give the range top new life. She also used Rust-o-leum countertop paint and decorative chips for the surrounding area. After sanding the chips smooth, they used the leftover Reclaim sealer as a top coat. To give the backsplash a new look, Jeannine added SmartTiles. Want more information on that project? We’ve got a tutorial here. Jeannine also painted the pump faucet black. Her red Coleman dishes, hot pads, dish cloths and coffee pot complete the cute look.
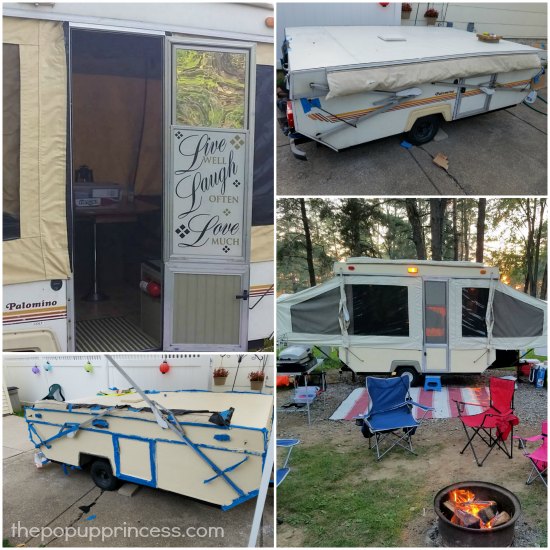
Once they got started with their makeover, they went all out. With the inside finished, they moved on to the outside. They purchased brand new canvas, and the camper door got a cute decal. The exterior also got a fresh coat of almond colored paint. I love how clean it looks now.
On Memorial Day weekend, Jeannine and Scott took her out for the maiden voyage. They didn’t have a site with electricity, so beforehand they purchased a red percolator. It was the best $20 they ever spent! 😉 There is nothing like camp coffee. The whole family had a fantastic time in their “new” little camper and can’t wait to do it again. I can’t believe what an awesome transformation this is. Jeannine’s little Palomino hardly looks like the same camper. Beautiful work, Jeannine. It looks brand new. I hope you enjoy many family camping trips with your girls, and I’m sure they will have wonderful memories of their little pop up camper. 🙂
 I can’t believe what an awesome transformation this is. Jeannine’s little Palomino hardly looks like the same camper. Beautiful work, Jeannine. It looks brand new. I hope you enjoy many family camping trips with your girls, and I’m sure they will have wonderful memories of their little pop up camper. 🙂
Happy Camping!
Disclaimer: This post contains Amazon affiliate links. The Pop Up Princess is a participant in the Amazon Services LLC Associates Program, an affiliate advertising program designed to provide a means for sites to earn advertising fees by advertising and linking to Amazon.com. This means that if you choose to purchase an item from a link in this post, The Pop Up Princess earns a small advertising fee to help pay for future projects and posts… so thank you! 🙂
Happy Camping!

Hi. I’ve been following for a while and am working on my own remodel that I’m hoping to see on your blog one day! 😊 But I’m wondering where they got their canvas? Did they say? It’s hard to find for our old Pups! Thanks
Take a peek at Bear Creek Canvas, Lindsey. They will custom make your canvas if they don’t have it in stock. 😀
The “before” photos of this camper are downright scary! What an amazing transformation. It looks brand new. Great job!
Thanks! It was a lot of work, but also fun – and so worth it! We’ve packed it away for the winter, but are already talking about all the places we can take it next summer.
Beautiful job, love your practicality in using what was good,, and adding some major touches.
I love the color you chose for the cabinets and I think you did a fantastic job! I bought a 1989 Jayco tent trailer this year and it’s great shape. I have recovered the back cushions on the dining room cushions and want to paint the cabinets. My question to you is this: have you ever used the sink or cook top? We have been camping 5 times and have never had water hookups and I prefer to cook outdoors. Why should I keep these? Seems like I could use this are for counter and storage space. What do you think? If I wanted to heat something up, I could use a small microwave right?
Thanks Jeannine & Larissa – lots of great ideas. Wondering if the cabinet paint might work on the floor of a trailer over linoleum or vinyl planks?
Hi Jeannine!
This looks wonderful! I love the bold colors, and the kitchen countertop transformation is amazing.
I want to do something similar to your countertop in my new old camper. Did you have plastic T-molding around the edges? If yes, did you paint right over it? Or remove it and paint over the edges?
Thanks, and happy planning for the 2017 camping season!
Caroline
I was wondering what you used to paint the outside? It looks amazing!!
What sort of paint was used on the exterior? Has it held up well?
Hey Jeannine,
Love you’re pup, we actually just a 87 palomino colt ourselves and your makeover has been so helpful! I see you added curtains and used tabs where did you put them? I’m looking at my bunk ends and have no idea.
Also I’m using your idea to spray paint the stove.
Thanks!
Also thinking about ordering our replacement canvas from Bear Creek Canvas. By any chance, do you know what color they went with?
What kind of high heat paint did you use on the stove top and how has it stood up over the past few years? I have this same palomino and my stove top is chipped and in need of some love, but none of the high heat paints have had good reviews.
I am also wanting to know about painting the stove top on my camper … are there fumes from the paint while cooking?