With a little creativity and a small budget, Jared and Lacey transformed a tired Coleman pop up camper into a sweet retreat, allowing them to enjoy the great outdoors in relative comfort.
Jared and Lacey both grew up in southern Idaho, and they loved how accessible the great outdoors were there. When they moved to Utah after college, they realized there was some amazing country to explore in that state, too. Feeling a little homesick, they decided to purchase a pop up camper so they could take advantage of Utah’s beautiful scenery.
Initially, it was difficult for Lacey and Jared to find a camper for a reasonable price that didn’t require a lot of work. After about a month of searching and eventually expanding the search distance, they found their 1993 Coleman Cedar. It had good bones, but needed a little TLC. It was perfect for them, and it fit in their small driveway space. 🙂
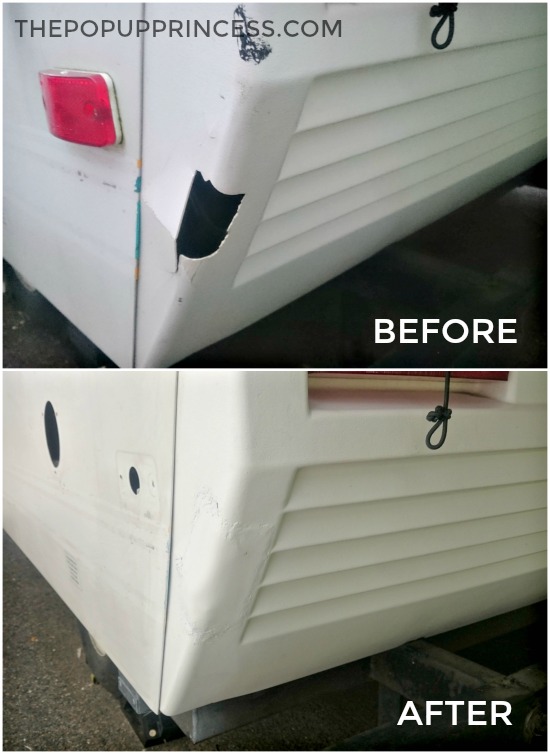
There was a hole in the rear body panel of the camper that needed to be patched before Jared and Lacey could start their interior remodel. Jared purchased a small sheet of ABS plastic and used a plastic welder to mold it over the hole. This worked perfectly. Then Jared caulked any screw holes in the roof and repainted it with rubber roof paint. With all the structural issues resolved, they were ready to move on to the fun stuff–decorating!
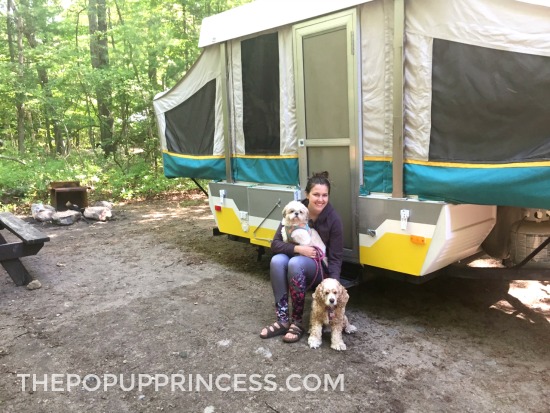
Lacey and Jared really wanted to make the exterior of the camper unique, so it would fit their personalities. They decided to give it a custom paint job. Jared removed the existing decals with a heat gun (you can read all about how to do that here) and primed the exterior for painting by rolling on a Rustoleum primer. After deciding on a design, they used Rustoleum oil-based paint and rolled it on very carefully to ensure that it was smooth.
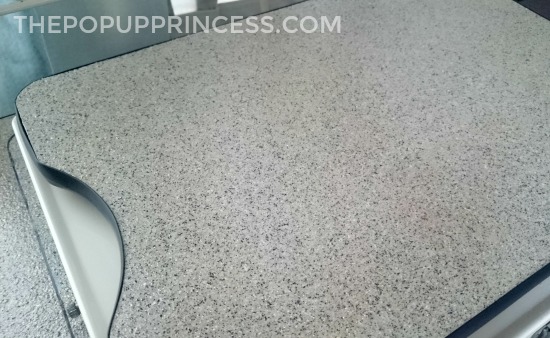
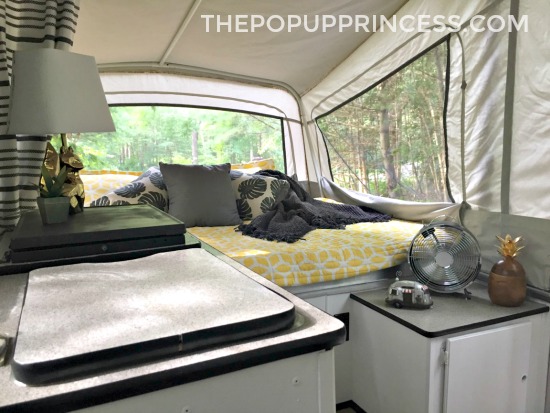
Then they got to work on the interior. Lacey and Jared took out the countertops to give them a facelift. Lacey primed them, then repainted each one with Rustoleum stone-look spray paint. While the spray paint was still wet, she sprinkled glitter over them to add a sparkle effect. Then she topped it all off with multiple layers of polyurethane. They also removed the old blue t-trim and replaced it with new black trim for a sharp, clean look.
Lacey gave all the cabinets a fresh coat of white paint. For more tips on how to paint your pop up camper cabinets, be sure to check out our post on that here. Then she replaced all the cabinet door knobs, while Jared laid new plank vinyl flooring.
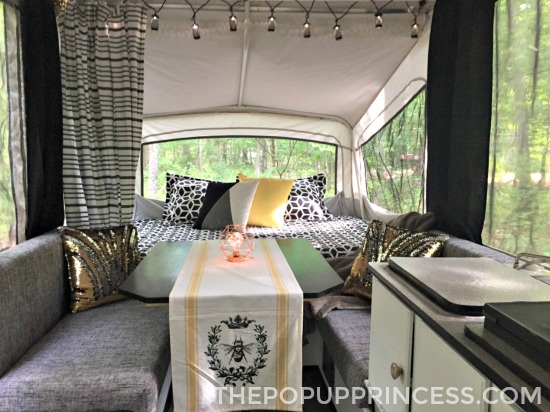
Lacey used a patterned shower curtain from Target to make her bunkend privacy curtains. The darker gray curtains throughout the pop up camper are inexpensive curtains she found at Walmart. To hang both types of curtains, she purchased tension curtain rods. She attaches a small bungee cord in the middle of the rod and winds it around the top of the shepherd’s poles on the bunkends to help support the weight of her curtains and lights. To avoid any damage, Lacey takes the curtain rods down when she folds up the camper.
Lacey purchased gray upholstery fabric online to cover the cushions. She used the wrap and staple method (more on that here) to cover them. It was quick and easy, and if she ever tires of the upholstery, she can easy switch it up. 🙂 She found her darling bedding sets on Amazon (link here). They are reversible, so if Lacey wants to change things up a bit, she can just flip the comforters over to the other side.
Lacey and Jared now have a cute, comfy little home away from home in which to explore their new state. It looks like they are already having some fabulous adventures with their little fur babies, right? Thanks for sharing, Lacey! Your makeover rocks! Now go enjoy some Utah camping.
Disclaimer: This post contains Amazon affiliate links. The Pop Up Princess is a participant in the Amazon Services LLC Associates Program, an affiliate advertising program designed to provide a means for sites to earn advertising fees by advertising and linking to Amazon.com. This means that if you choose to purchase an item from a link in this post, The Pop Up Princess earns a small advertising fee to help pay for future projects and posts… so thank you! 🙂
Happy Camping!



I love it, turned out great! I would love to know the price of the trailer, as well as the cost break down of all the work they did. I’m still in the planning/ shopping stages so that would be extremely helpful to have an idea for my budget. Thanks!
Aimee, I don’t have budget specifics on Jared & Lacey’s trailer, but if you are looking for an example of how to remodel a pop up camper on a budget, check out Cassie’s remodels here and here. 🙂
Hi Aimee, we spent $750 to buy the trailer originally and probably spent another $400-$500 on the updates/fixes. All in all, we are probably into it for around $1200 or so. Hopefully that helps!
Just beautiful!!! I’m going with a gray color scheme as well and black t trim. I’m looking for the exact color that you painted the counter tops with. Would you be able to tell me what colors you used??
Hi Keri!
If you haven’t purchased your paint yet here’s the paint we got: Rust-Oleum 7995830 Stone Creations Spray, Pebble. I think the black pops really well with that color. I also sprinkled glitter over it to give it a marble effect. (maybe I just really like sparkle haha). Good luck!
I love the countertops! We’re in the process of remodeling our camper and are stuck on what to do with our 90s colored countertops. How have yours held up?
Hi Elaine,
Super late on this reply–but our countertops are doing great still! It’s only been a year but I haven’t noticed any wear yet. Good luck with yours!
Where did you get the ABS plastic repair items?
You can find our tutorial on repairing your ABS body panels here, Brandy. 🙂
Absolutely love this makeover! There is so much inspiration on this site!
LOVE the outside colors on the PUP!! Did you paint the canvas or was it already like that?
Hello! The canvas was already like that. 🙂 so we tried to pick colors that would pop with the canvas.
Thank you!!