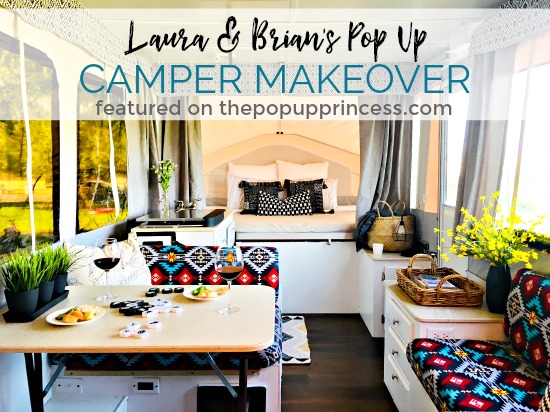
 I often hear from owners who love the idea of updating their campers but think they can’t possibly remodel their pop up because they don’t know how to sew. If you’ve been following along with us for any length of time, you’ll know we’ve got some creative readers. Sewing skills are not prerequisite for renovating your camper. I’ve featured makeover stories from readers who’ve taught themselves to sew, recruited an experienced seamstress (or family member) to help them out, and even explored various “no-sew” methods to transform their trailers. Laura is one of those readers. She has given her family camper a whole new life, all without sewing a stitch. Keep reading to hear Laura explain just how she did it.
Laura & Brian’s Pop Up Camper Makeover
So here is what I want people to know from our remodel: It is entirely possible to completely remodel your camper without ever sewing a stitch! I am a real-life BuzzFeed list of Pinterest fails, self-proclaimed crafting wannabe. Martha Stewart is my pretend arch-nemesis. I put off our remodel for months because I was overwhelmed by the thought of learning to sew, until I just decided to see how far I could get WITHOUT sewing anything. Turns out you can get pretty darn far. Stitch Witchery, staple guns, and E-600 glue are my good, good friends now. 😉
And this is the other encouraging thing that I want people to know from our remodel: It is also entirely possible to remodel your camper in just one week. We lost Brian’s dad to cancer this summer. We spent a couple unplanned weeks in Texas, and when we got home we had exactly one week before we were to leave on our “big” camping trip for the summer. We spent all day Saturday, Sunday, and evenings after work during the rest of the week working on our little project. It ended up being just the therapy we needed during that time.
Brian and I were huge tent campers before we had kids, but camping sounded like more work than fun once we became parents. We felt getting a pop up camper might tip that work-fun balance back into fun’s favor–and shouldn’t camping be fun? So we bought a 2011 Forest River (nicknamed “The Boss”) before the summer of 2016 and took our kids camping for their first time. It was so magical that we went for a 2nd, 3rd, and 4th time that year. We were all hooked!
In fact, we were so hooked that I booked eight trips for the next summer. Between those summers, a friend introduced us to The Pop Up Princess, and that’s when we really started dreaming. I had no idea what was even possible until we found Larissa’s website and saw so many creative, beautiful renovations.
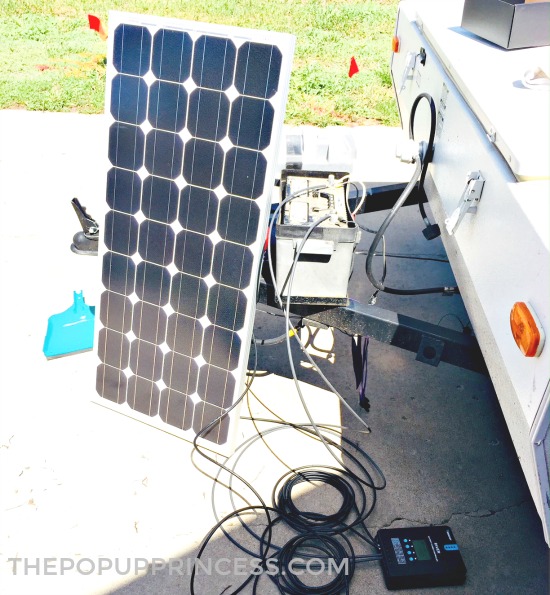
The first (and only) thing we did before the season started was install a solar panel. Many of the places where we camp in Colorado are national forest and national park sites, which typically don’t have electricity. It was super important for us to be able to keep the battery charged (and, ahem, the heater running at night, thank you very much). We purchased the Renogy 100 Watt 12 Volt Monocrystalline Solar Starter Kit with 20A Rover MPPT Charge Controller, and it has been perfect for our us. We haven’t installed it on the roof yet, since we’re a little nervous about drilling into the shell. Instead, we mounted the controller in the storage underneath the dinette bench, and we feed the cabling out of the existing openings to connect to the battery and panel. It’s been a great setup.
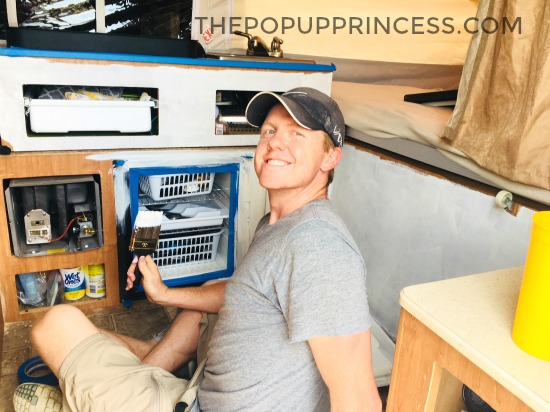
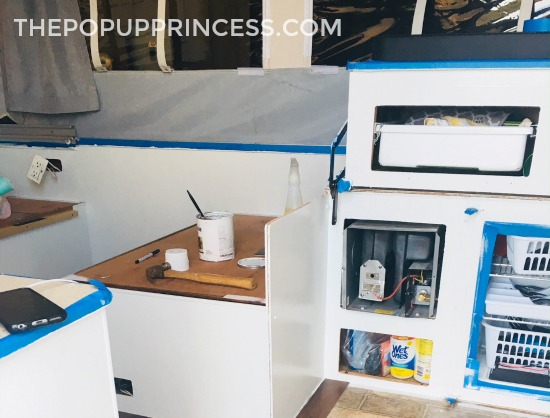
When it came to the actual remodel, Brian started by painting all the cabinetry. After trying out spray paint, he decided an oil-based paint would actually be easier for him. He used original white Kilz Interior Oil Based Primer, Sealer and Stain Blocker as both the base coat and top coat. After two coats of Kilz, it looked pretty good. Having gone to all the trouble to tape everything off, though, he put on a third coat just for good measure. Don’t skimp on taping–it really does make a difference.
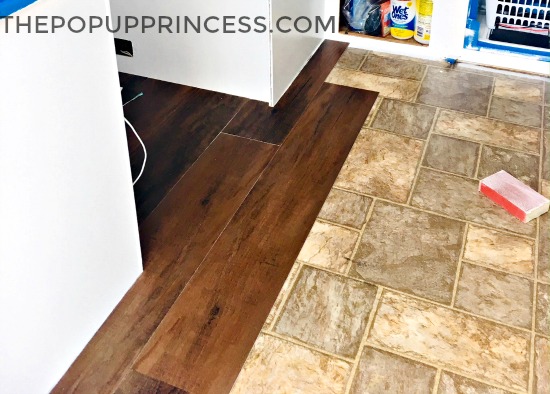
Next, he laid plank vinyl adhesive flooring from Lowe’s. We purchased Style Selections in Woodland Oak, and this project was pretty straightforward. You’ll definitely want a good t-square and a sharp new razor. Brian started in the back corner underneath the dining table and worked out from there. It went really smoothly, and he didn’t run into much trouble. Be sure your starting pieces for each row are of different lengths so that the seams end up being randomly distributed. This will not only make it more visually pleasing but also add strength to the flooring.
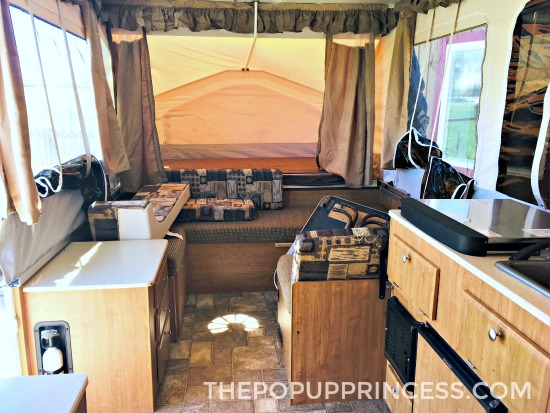
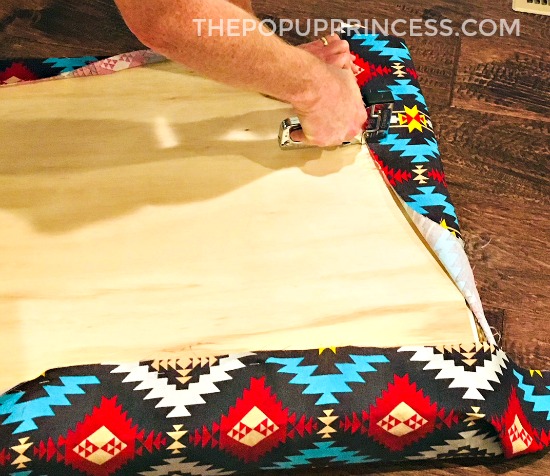
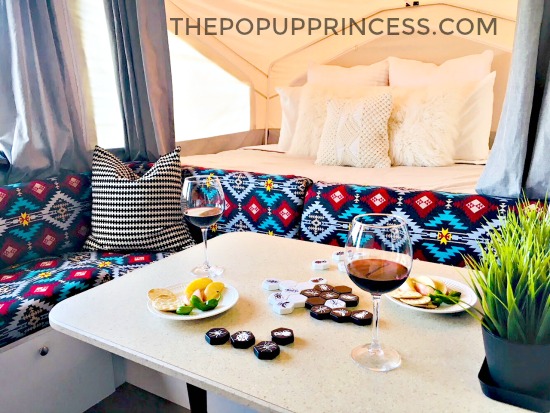
While Brian was working on the floor, I was working on the curtains and valances. I went into Hobby Lobby and fell in love with this bright Southwestern print. I used their 40% off coupon to buy the cushion fabric, and found the valance and accent pillow fabrics in the clearance bin. We had plywood from Home Depot cut to the sizes of the cushions, placed it on the back of each one, and then used the good old wrap-and-staple method to cover the original fabric. (If you are looking for a great tutorial on this, you can find one here.) We added a few coats of Scotchguard, and these cushions have held up really well.
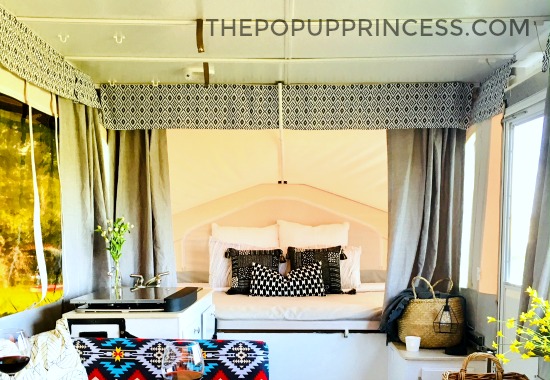
I found Room Essentials blackout curtains on sale at Target, and they were actually cheaper than if I had bought all the material and made the panels myself. I was sold. Did I mention I didn’t have to make them myself? 😆 I did have to trim them to the right length. Then “hemmed” them with Stitch Witchery, which was really easy.
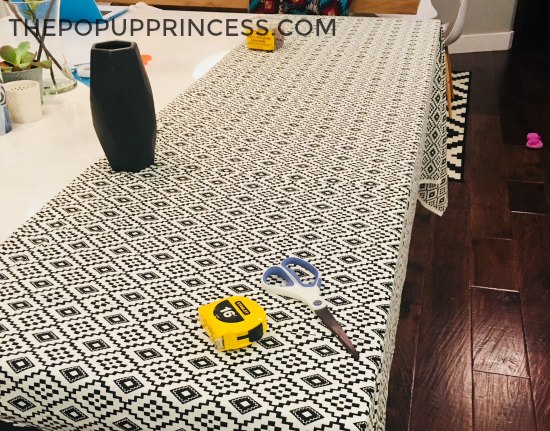 I did the same thing to hem the valances. Because of the repeating pattern on the fabric, I was able to cut multiple lengths from my clearance fabric. This meant the entire valance cost less than $7 total! I pulled the curtain tabs and velcro off of the original curtains and valances so that I could re-use them. I was feeling stumped on how to get them on to the new curtains and valances without sewing them, so I experimented with several different kinds of glues. The one that I found worked best was E-6000. It’s stinky, but it does the trick.
Before the actual remodel, I was constantly checking the clearance sales every time I went into Target and Hobby Lobby. This is how we got our bedding, decorative items, and dishes. We had some extra Ikea pillows laying around that completed the look. We went camping with a group of friends recently, and we all had a big laugh at the fact that I had brought eight bed pillows, plus a whole heap of throw pillows as well. By comparison, our family friends who were tent camping with us brought two pillows total for their entire family to share. We clearly have different definitions of “essential.” 😀
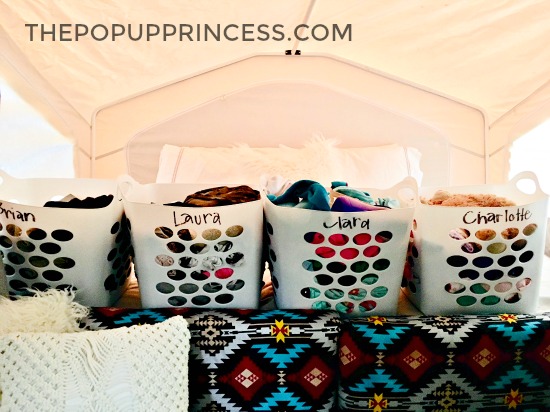
I’ve gotten so many space-saving and organizational tips on The Pop Up Princess that I just wanted to quickly share how we pack and manage clothes and gear for our family. Each family member gets a flexible, square laundry basket. Before each trip, I print out a packing list for everyone and write in the number of each item they will need. Every person–from our 5 year-old on up–is responsible for packing his or her own basket. After they finish packing the necessities, they’re allowed to fill it with whatever books and toys they want to bring, as long is it fits in the basket. During the day, the baskets sit at the ends of the beds, and at night, they sit on the dinette bench. All we need to do to is load each person’s basket in the camper, pack a cooler with perishable items, and we are ready to hit the road!
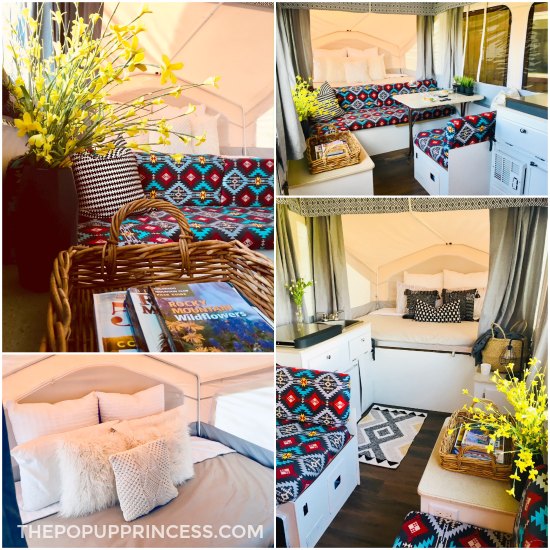
So there you go… a one week remodel with no sewing involved. I just love how our remodel turned out. It was great therapy for Brian and I to work on the camper together, but I have also learned a lot about myself. I discovered that the feel of a space makes a difference for me. Being in The Boss definitely makes me happy. I thought the yellow flowers were so silly at first, and now they are my favorite part of the whole camper. I’m officially a glamper.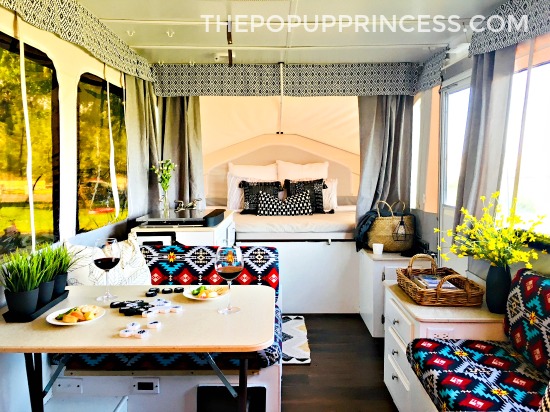
Isn’t Laura & Brian’s makeover stunning? I’m in love with that cushion fabric, and can you believe it was all done without sewing a single stitch? Amazing! I told you I have some creative readers. 😉 Thank you so much for sharing your story, Laura. I know you and your family will enjoy many memorable camping trips in your “new” pop up camper this summer.
Disclaimer: This post contains Amazon affiliate links. The Pop Up Princess is a participant in the Amazon Services LLC Associates Program, an affiliate advertising program designed to provide a means for sites to earn advertising fees by advertising and linking to Amazon.com. This means that if you choose to purchase an item from a link in this post, The Pop Up Princess earns a small advertising fee to help pay for future projects and posts… so thank you! 🙂
Happy Camping!



This was super inspiring to me as a non-seamstress. We have always tent-camped, even with kids, (our youngest’s first trip was at 2 weeks old!) multiple times a year and it is hands down our favorite family activity. We bought a bigger car pretty much specifically to be able to fit in more camping stuff. A pop-up camper is 100% on our bucket list. I’m saving up ideas while saving up my pennies!
I love that idea with the baskets. What an easy way to pack. Definitely a beautiful camper-I think if I counted right we bring about 16 pillows with us-for 4 people. BWHAHAHA! Ridiculous! We use our dinette as our bed and our couch-so I bring a bunch of pillows so we can prop ourselves up. But.still.
Wow! Beautiful! I love the design and all the accessories – just the perfect amount. Makes me want to to see her house ha-ha!
Love your remodel, but with twins, your tip on packing is my new life saver! Thank you for sharing that.
Hi Laura, i love your fabric choice. How many yards of fabric did you use to redo the cushions?
Awesome! My girlfriend Laura and I just picked up a 1990 Jayco 1006 and plan to renovate. Your solar setup is great and your ideas will definitely come in handy!! Its an added bonus that we will both have Laura and Brian reno’s lol!