


 This week’s feature comes from a reader named Laura. Her story really pulled on my heartstrings. Laura decided to give her childhood pop up camper a makeover, so she could continue to enjoy it as an adult. It’s such a neat story, and I’ll let Laura tell you all about it.
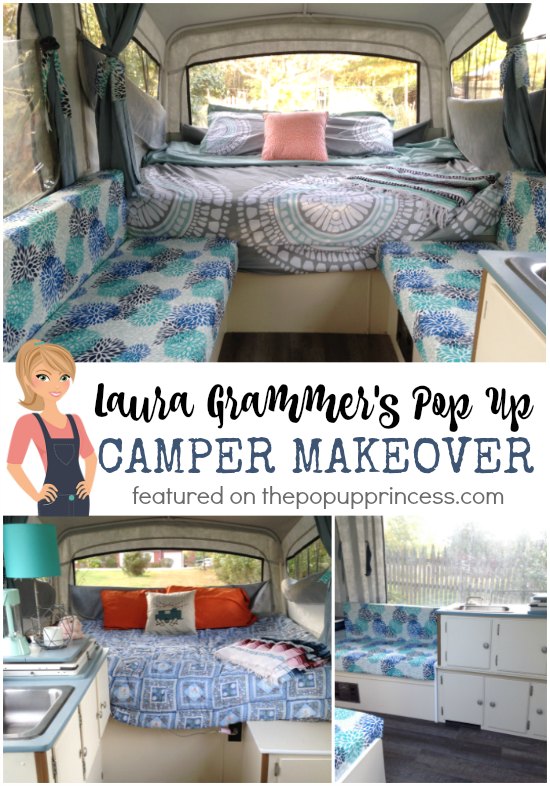
Laura Grammer’s Pop Up Camper Makeover
My family has always been a camping family, and we used to tent camp until my little two-year-old self wandered away from the campsite while my parents were busy pitching the tent. To make setting up camp easier, they bought a 1993 Coleman Destiny Cedar new at a camping show, and we used it almost every year up until I went to college. The pop up had been sitting in our driveway for six years now, and my parents are getting older, so my mom considered selling it. I agreed with her, pointing out that our new cars didn’t even have hitches to pull it. We opened it up to start cleaning it, and suddenly all of the memories of my childhood hit me like a ton of bricks. I knew we could NOT sell our beloved pop up camper and decided right then and there I would fix it up and give it new life.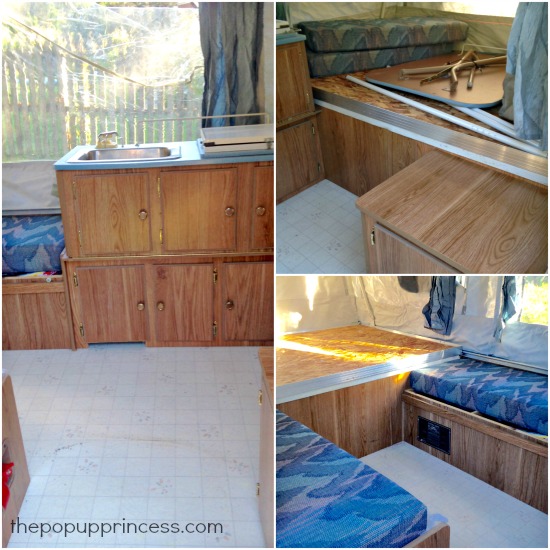
I have a smaller SUV than I used to have, but our pop up is also on the smaller side at 900 lbs. I found out my car has 1200 lbs towing capacity, so I was ready to go forward knowing I would be able to tow it. The camper was in relatively good shape, with no major damage. It was just dirty and needed to be saved from it’s early 90’s decor. 😛 I started out my makeover by breaking off the door handle… so that was my first project. I ordered a new door latch from Amazon, and it was an easy fix.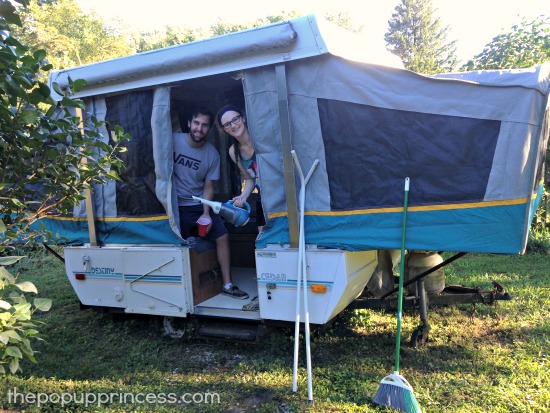
We cleaned the hard top with Murphy’s oil soap. Our tenting is the old Coleman Evolution 3 canvas, so we cleaned the inside and outside with diluted dish soap, making sure to rinse the Evo3 material very well. I bought a little hand vac (again from Amazon) to easily clean out the dirt and cobwebs, and then I took off all of the curtains and washed them. I followed the owner’s manual for flushing the water system with bleach and made sure the sink still worked. It did!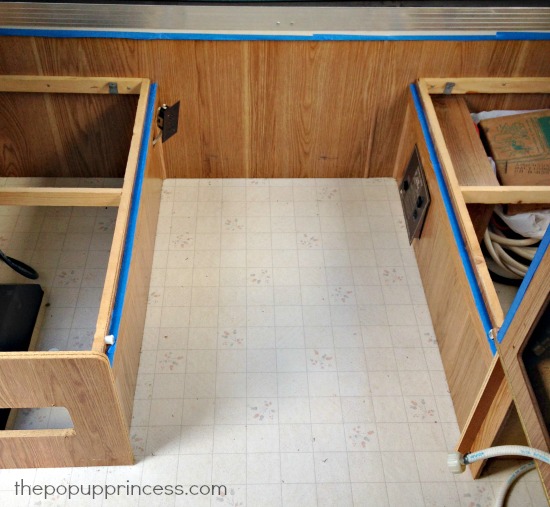
I decided I wanted to paint the wood printed cabinets, and after reading Larissa’s post on that here, I pulled up the ugly brown, cracked t-trim instead of trying to paint it. The T-trim was also cracking off of the table, so I removed it, too. I ordered the 20 foot white t-trim from Amazon that Larissa used, since Home Depot didn’t carry it and had no idea what I was talking about. 😉 After sanding and removing the doors and hardware from the cabinets, I primed and painted using the Zinsser 1-2-3 primer as several readers had suggested. Then I followed it with several coats of some left over cream-colored latex paint we had.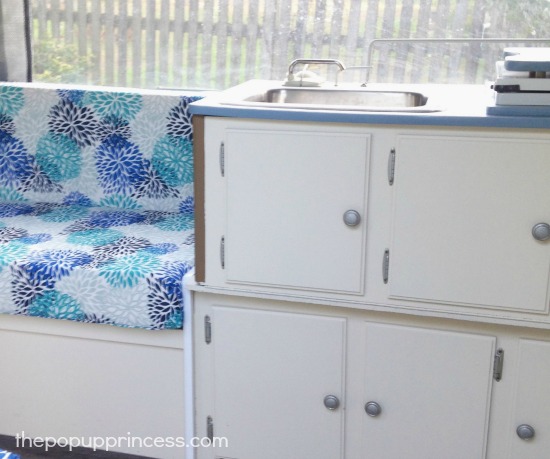
I sprayed the gold cabinet hardware and table legs with brushed nickel paint. When the paint was dry, I adhered some printed Con-Tact paper to the plain blue table top and installed all the new t-trim. Since we were using a blue color scheme in the camper, we left the original countertops alone.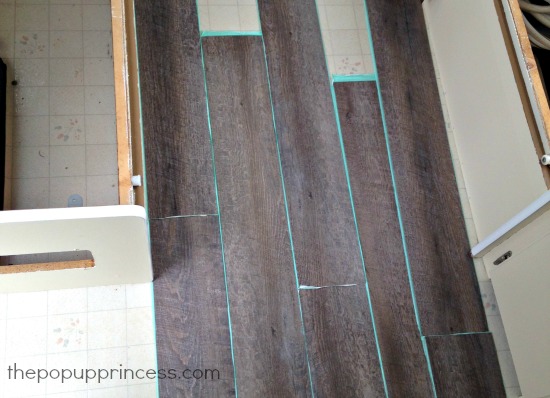
For the flooring, I knew I wanted to go with a grey wood look. I loved the look of Tracy’s makeover and decided to go with the same peel-n-stick planks from Lowe’s. This was probably the hardest part of my renovation, and it took me a whole afternoon because some of the cuts were difficult. I had never had any experience laying flooring before (it’s harder than it looks! 😛 ), but I finished the floor on my own. I came back in the next day to see some of the planks peeling up, and I was so frustrated! I put a bunch of weights and bricks on the seams and any areas popping up and left it for a few days. Thankfully, that worked and the flooring stayed down. (Larissa’s notes: I recommend applying a primer or extra adhesive when using adhesive backed plank vinyl to help prevent that very problem.)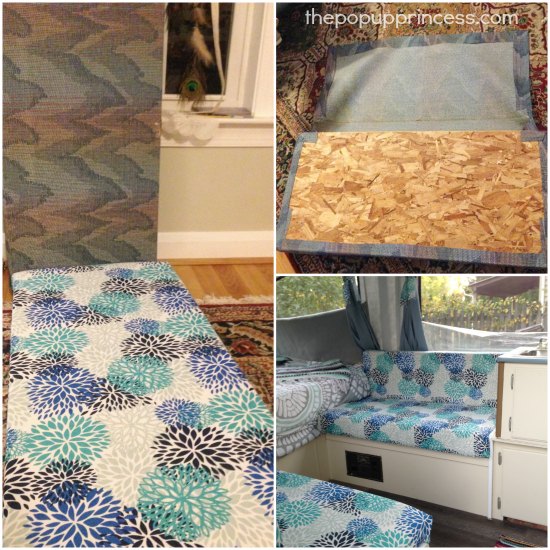
I really liked the fabric Jennifer used on her cushions, and when I saw the pattern in all blue tones, I purchased it for my cushions. It was $9 per yard, and I bought 6 yards. I pried up all of the staples and old fabric from the plywood backs of the cushions. The foam was still in good shape, so I wrapped the new fabric around each cushion and stapled it to the back. I’m pretty sure I traumatized my dog with the noise from the staple gun in the process, because she gets really nervous whenever she sees the cushions. Haha. 😀
Last was the fun part–decorating! Many of my new pieces came from Target. They seriously carry the cutest colors and accents! The cute camper print pillow cover came from Amazon. We had one comforter that worked with the blues in my décor, and I covered the other comforter with a duvet cover from Target. We already had the rugs and the Mexican blankets, so into the camper they went.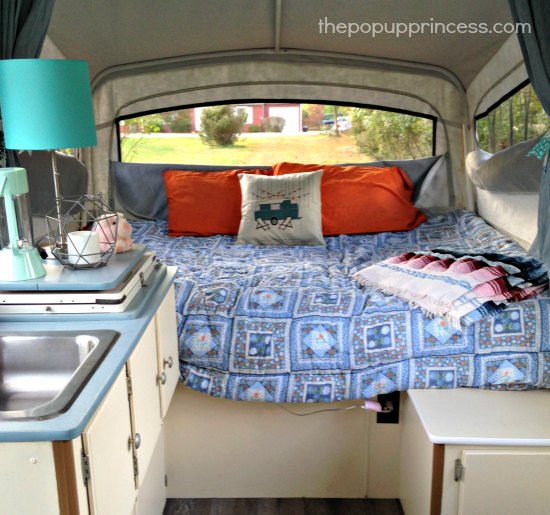
I also followed some of Larissa’s suggestions for sleeping comfortably, because honestly those thin foam mattresses just don’t cut it. I bought these black activity mats from Amazon, and I also bought foam mattress toppers from Walmart for $20. All in all, I spent around $350 for the upgrades to our pop up camper, but I am so glad we did it. Now we can continue to make family memories in our little PUP. 🙂
Such a great story, right? It made me more than a little nostalgic, and I sure hope my three kids have made memories that will stay with them well into adulthood. I’d love to see them in pop up campers of their own some day. Thanks so much for sharing your story with us, Laura. I can’t wait to hear about your new adventures.
Happy Camping!
![]()
Disclaimer: This post contains Amazon affiliate links. The Pop Up Princess is a participant in the Amazon Services LLC Associates Program, an affiliate advertising program designed to provide a means for sites to earn advertising fees by advertising and linking to Amazon.com. This means that if you choose to purchase an item from a link in this post, The Pop Up Princess earns a small advertising fee to help pay for future projects and posts… so thank you! 🙂
Happy Camping!

I love this. I’m waiting for the weather to be less temperamental so I can open our PUP up to start cleaning. Bought some new fabric to redo the seat covers and curtains last summer, and I have big plans for the floor (why was linoleum so popular in the late 90’s?). It’s technically my parents PUP, but even they know that it’s looking tired and less functional. Time to make new adventures.
looks so comfy!
Love your renovations! How many yards of fabric to cover your cushions? I have the same size camper. Thanks!!
Thank you! I I got 6 yards, but ended with at least a yard left over, so 5 would probably be enough.