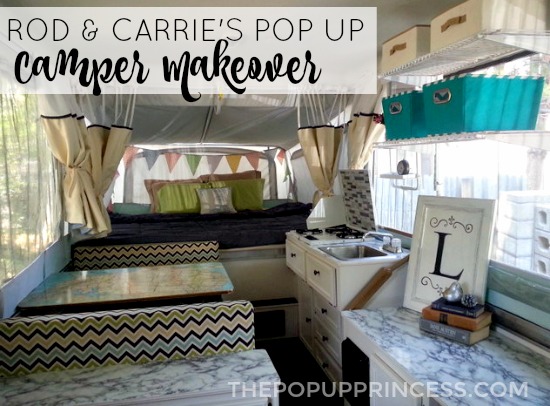
 I love camping with our kids. We feel so refreshed after spending some time out in nature and away from the TV and cell phones. Camping with kids can be tricky, though, and I remember our first road trip in the tent. We had so much fun, but it was also so much work. I definitely envied those families with campers, and I always say purchasing our PUP was the best decision we’ve ever made. It has allowed us to see and do so much together, and we have never regretted the decision.
Rod and Carrie are parents to five kiddos, so they know first hand where I am coming from. Tent camping with five kids is no easy feat. Carrie says their last tent camping trip ended early because of torrential rain. They kept thinking that if they’d only had a trailer, things would have been so much easier. After they got home, it didn’t take long before they were perusing Craigslist for a great deal. They found a 1995 Coleman Sun Valley that needed some work, but it was a good deal and had good bones. The rest is history. 🙂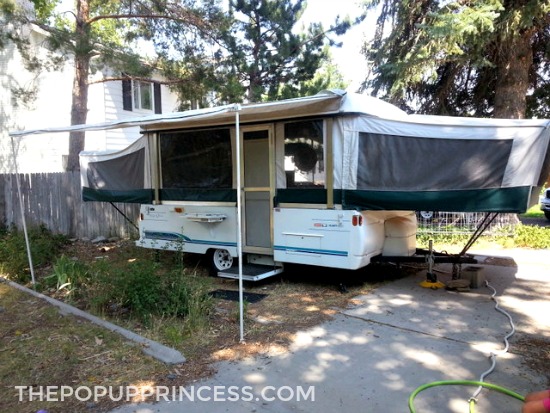 The first thing Rod and Carrie did was clean up the camper. The canvas was pretty dirty, so it got a good cleaning. Then Rod got to work on the water system, roof, electrical and heating systems and replaced all the lights with LED lighting. Meanwhile, Carrie worked on the cosmetic issues.
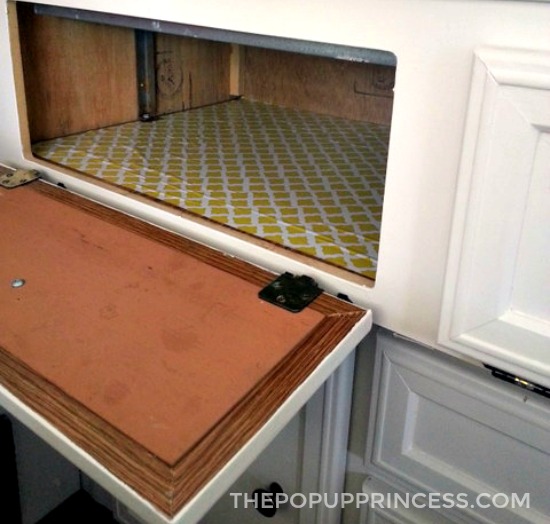
 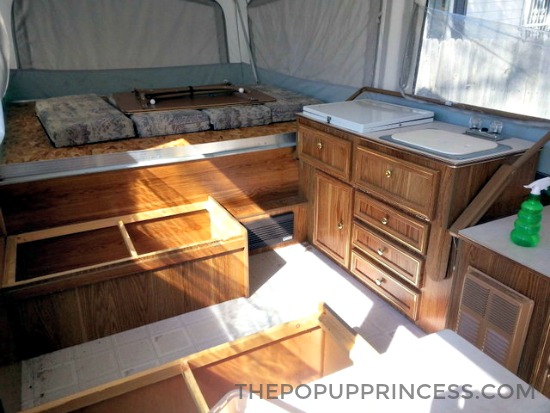 Carrie tackled the cabinets first. She sanded them gently, washed with TSP, and primed them. Then she gave them a coat of Sherwin Williams paint in Kestrel White–because that’s what they already had in their garage from another project. Carrie and Rod took off the hardware and spray painted the hinges. They used a bag of 20 knobs they purchased at a yard sale for $1 to update the hardware. Score! Carrie also lined the drawers with fun Contact paper and spray painted the furnace grill to match the cabinets.
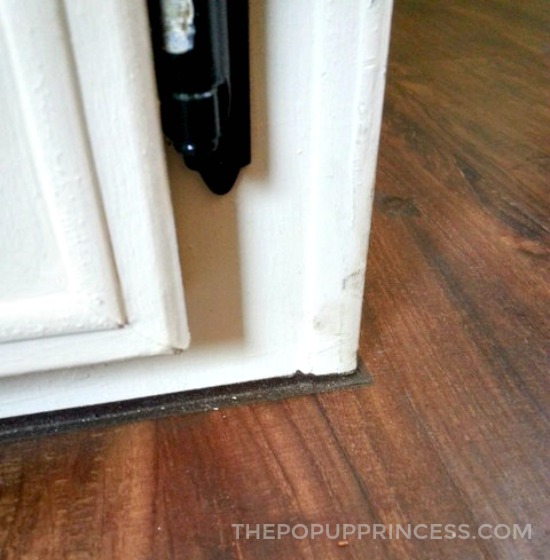
  Next up was the floors. Rod and Carrie used interlocking waterproof vinyl flooring that they said was a beast to install. Not only was it quite a bit of work for them, it was also the most expensive update, coming in at about $300. They weren’t crazy about installing a shoe molding around the bottom of the cabinets after all that hard work, so they used some brown-colored caulking to fill in the gaps. To get it straight and even, Carrie and Rod used painters tape on both sides of the caulk line to make sure it didn’t smear up on the white cabinets.
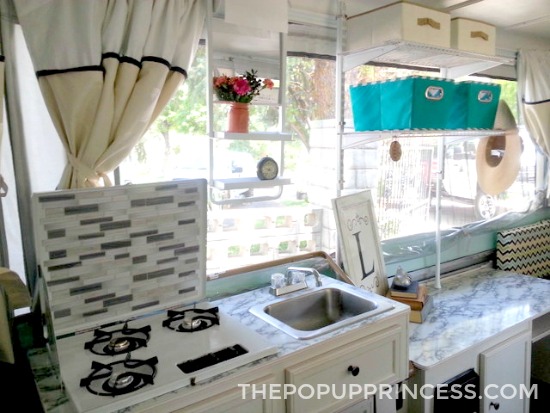
  Rod and Carrie had seen some of the really cool ways readers had completely replaced or revamped their countertops and considered doing something elaborate, but in the end they went with cheap and easy. They used DC Fix adhesive contact paper they purchased on Amazon. Carrie says this isn’t your average contact paper. It is thick, strong, and really looks like a marble countertop. She said the hard part was applying it, but they used a plastic scraper to smooth out all the air bubbles as they pressed it down. It turned out beautifully.
 Then Carrie moved on to the cushions, which she’d kept putting off. It seemed like such a daunting task. I totally get that. I did the same thing. 😉 Carrie found that it was actually much easier than she’d thought once she got started. She finished all the cushions in about three days, and she says getting the old cushion covers off was the hardest part of the whole project.
 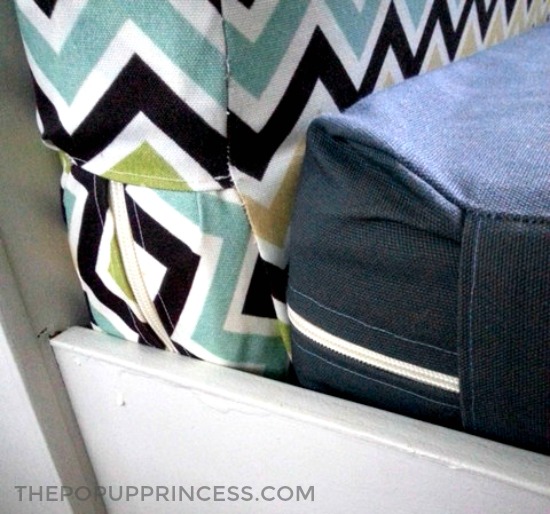 They saved a lot of money simply because of their timing. Hancocks Fabrics was (sadly) going out of business, and their local store had amazing deals. All the fabric, for the cushions and the curtains cost about $75. Carrie splurged and bought new, longer zippers for some of the cushions. This enabled her to sew new cushion covers that had the zipper extending down each side by a few inches. This makes it much easier to remove the covers to wash them. (For our tutorial on covering your camper cushions using this exact method, check out this post.) Carrie selected a chevron print outdoor fabric for the cushion backs and a dark blue/gray heavy canvas for the seat bottoms. This was a must for her, as five dirt-covered kids can really wreck havoc on camper cushions.
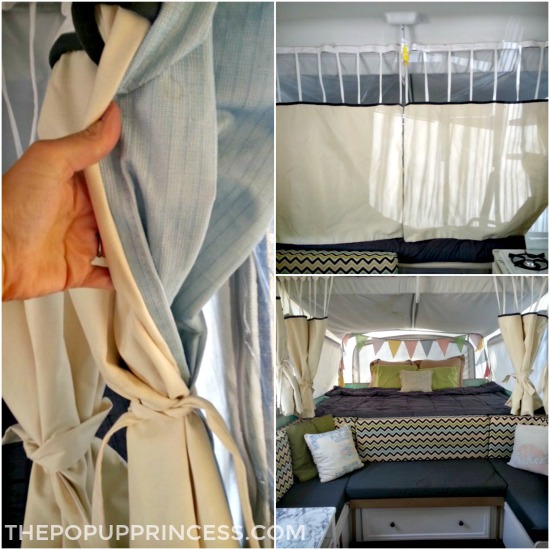 When Carrie started working on the curtains, she discovered that the cost of blackout lining was pretty steep. She decided to use the old curtains for lining instead. This worked well for her, as the old curtains completely block the light, are lightweight, and cost her nothing. She sewed a new beige curtain panel over the original blue curtains and then reattached the original curtain clips by hand. Carrie had planned on reusing the original mesh fabric at the top of the bunkend curtains for ventilation, but when she got home with her fabric, she discovered that the original mesh was blue and didn’t match the new scheme. Instead of using the blue mesh, Carrie sewed strips of white fabric in its place. She really likes the way it turned out–different, but functional.
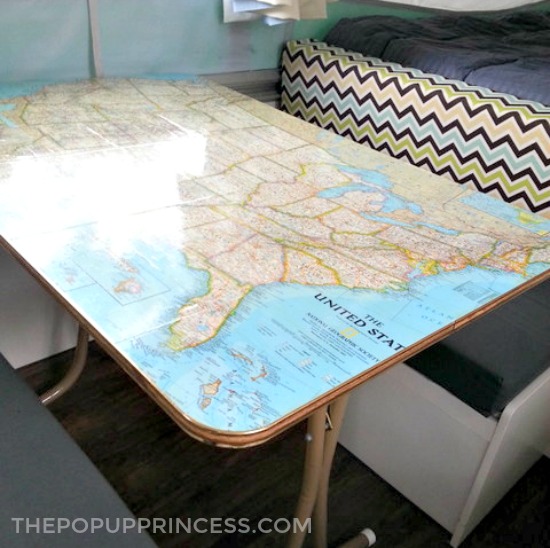 Carrie says the tabletop was the most fun. She had just received a whole bunch of older maps from her grandparents, and loved the look of the maps as decor. She decided to affix one of the maps to the table using 3M adhesive spray and then trimmed the edges with a razor blade. Carrie says she should have let it dry for a day or two, but instead went right on to apply the first coat of polyurethane. They used whatever clear coat they had in the garage, which consisted of Wipe-on Polyurethane in satin, and SafeCoat Acrylaq. All together, the tabletop got 6-7 coats of polyurethane. There were a few minor spots where the map bubbled up underneath, but Carrie realized later that was because she didn’t let the adhesive spray dry completely before applying the poly coat. It’s not a big deal, though, and the table still looks great!
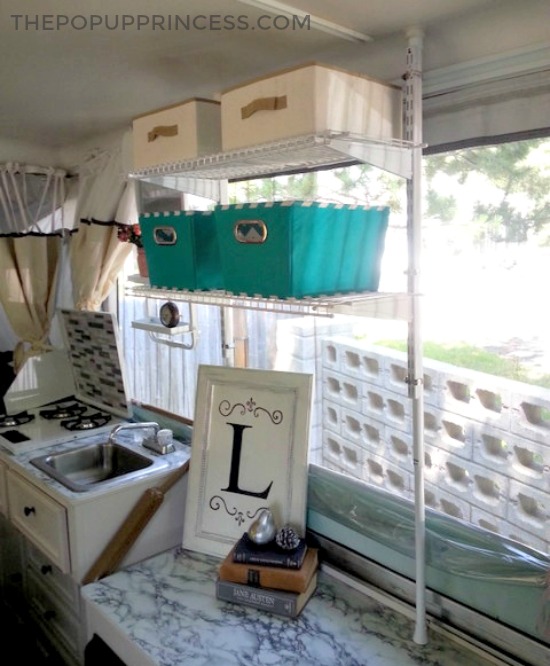
With most of the major work done, Carrie just added a few of the final finishing touches. She and Rod followed the tension rod shelving tutorial found here to give themselves some additional storage space. Carrie loves how it turned out and says it was worth every extra bit of time and money to do it. 😀 She also added a few vinyl decorations on the door, which made the project feel complete and were really the icing on the cake.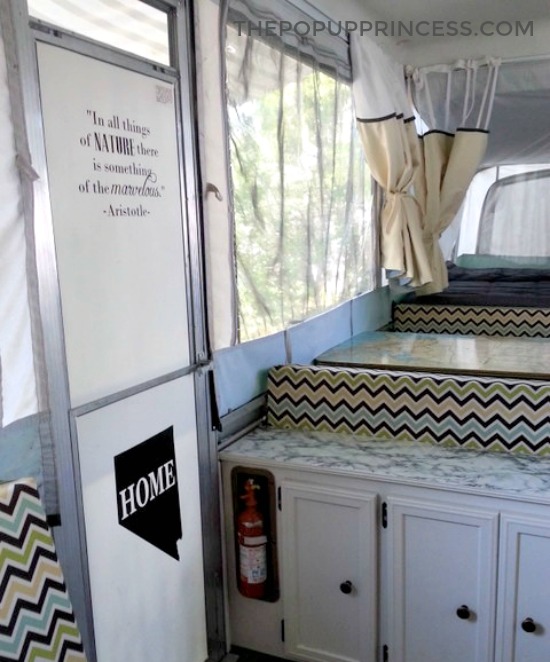 Rod and Carrie loved camping in their pop up last season. Their little family outgrew it quickly, though, and they’ve since sold it and upgraded to a hybrid travel trailer. Of course, Carrie had to personalize that, too, and so they began another camper remodel… maybe we’ll see pictures of that one soon, too. 😉 Thanks for sharing, Carrie!
Happy Camping!
Disclaimer: This post contains Amazon affiliate links. The Pop Up Princess is a participant in the Amazon Services LLC Associates Program, an affiliate advertising program designed to provide a means for sites to earn advertising fees by advertising and linking to Amazon.com. This means that if you choose to purchase an item from a link in this post, The Pop Up Princess earns a small advertising fee to help pay for future projects and posts… so thank you! 🙂
Happy Camping!


Very Nice. Love the table and I can’t believe contact paper for the counter tops. I’ll have to look into that. Thanks for sharing.
Thank you for this lovely camper rehab story! I especially like the hanging shelf that has flowers in a vase. Is that hanging shelf a stock item from the Coleman company or a mod from some other household item?
I think it must be a stock item, as our Coleman camper came with the same one.
Dear Pop up Princess…. how much fabric should expect to purchase to redo our pop up cushions??? We have 4 cushions.
That is a tricky question, Jamie. It will depend on the size of your cushions and the width of your fabric. Sail Rite has a great calculator here that might help you. 🙂
Where did you get the vinyl for the door?
I can’t remember the website; but it was a site where you design the vinyl yourself. So I found the quote and designed the lettering myself, then they made it and sent it to me. I’m glad you like it!
If the counter tops have some indents, what should I fill them in with before applying the contact paper?
I would; otherwise you’ll be left with pockets that could get popped; then you’ll have a hole in your countertop vinyl.
LOVE it! Just found your website tonight . . . and have spent hours looking at everything.
I totally had to LAUGH when you said that Rod & Carrie out-grew their popup with their 5 little kids. We have 12 kids and have taken them to 42 states in the past 13 years. We have usually had about 8 kids on each trip, as some of the older kids were grown before we adopted the younger 2. We put dad, mom, and the youngst child on one king bed, 4 girls on the other king bed, 2 young ones on the dinette, and an older brother on the couch. Yep. We can easily sleep 10 in our popup.
We are now taking grandkids on our road trips. Oh my! So fun!
We love the table top!!! I am wondering what quality map did she start with? I am thinking that the wipe on poly would wreck most maps. Was it laminated already? Just curious because it is an absolute must do for us!!!
Thanks
The map wasn’t laminated; it was just an old paper map. So the poly went right on top of the paper. I think the first poly coat was the SafeCoat Acrylaq, which is water-based. Benjamin Moore has a similar water based one. The map didn’t discolor or anything.
I am wondering how the countertops are holding up?
Great! It’s thick stuff and can handle pretty much everything.
Hi
What was the table edging you used on this table top map?
The table edging was metal; we did not add anything to the edge.
how well are the counters holding up now that its been almost been 2 years? thinking of doing contact paper on ours but worried about how well the paper holds in heat & humidity.
Was the map an exact fit to the table size? I am thinking of drawing my own map for a creative custom DIY approach to this project. Going to blow up the drawing at Walgreens and then apply to the table top bc it has several scratches and stains
I LOOOOVE THIS!!!! The map table is awesome! How functional and cleaver are those shelves?? Totally sold on a pop up camper now and stealing just about every idea here!
Hi! What is the purpose of using both the safecoat acrylac and the polyurethane on the map table? Can you get away with just using the polyurethane?