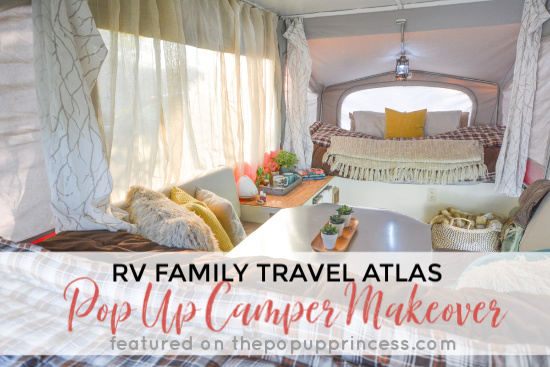
 I met Stephanie and Jeremy over at RV Family Travel Atlas a few years ago when I had just started blogging. They had recently started their podcast. Their first RV had been a pop up camper way back when, but with two twin baby boys, setting up camp was just more work than they could muster. They traded that little PUP in for a bigger toyhauler, but had always missed certain conveniences of their tent trailer. There is something to be said for being able to park your RV in your garage and head out of town on a whim. I had a chance to talk shop with them a couple of times on their podcast, and we would often chat about all the pros and cons of pop up campers during our downtime.
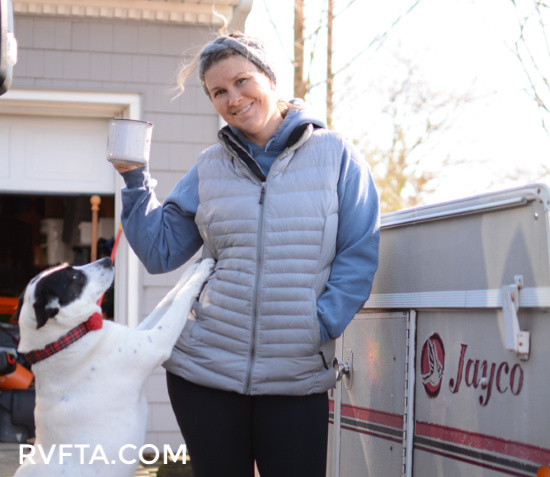 Fast forward several years later, and Stephanie started feeling the itch to find a camper she could easily tow to girl camper events. She knew she wouldn’t want to tow their huge toyhauler to the campground. They have to store their toyhauler off-site, so she wanted something smaller that she could keep at home. With those things in mind, she started searching for a pop up camper. It wasn’t long until she found a little 1996 Jayco Eagle Series 8 camper on Facebook Marketplace that fit the bill.
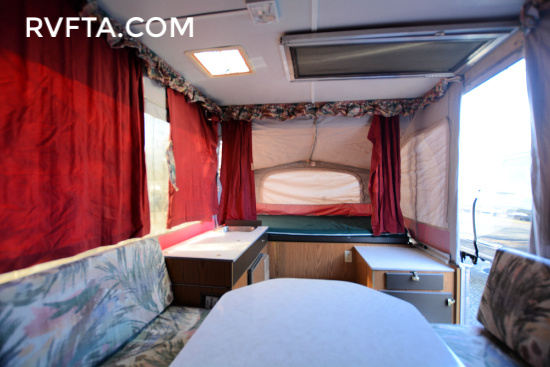 It had everything they were looking for, and it was in fabulous shape. Best of all? It only cost them $1000. Score! Stephanie knew she’d be giving this little a camper a makeover, but she didn’t want anything too elaborate. This was a camper that was also going to get used by three little boys and a dog. Everything had to be super durable and able to withstand a little abuse. She also wanted to keep the makeover simple and cheap.
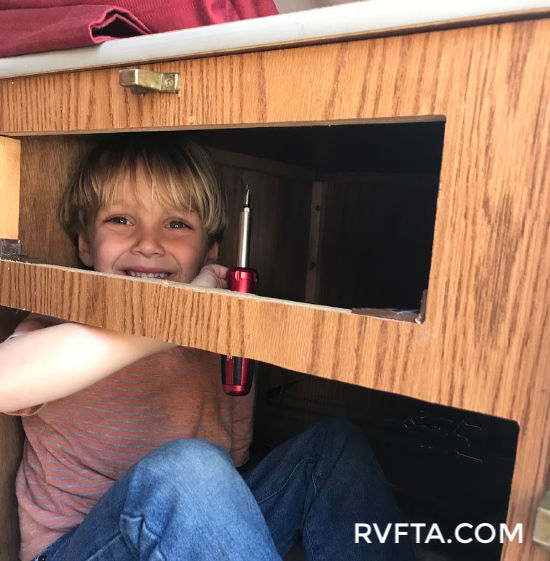 Another big must for Stephanie and Jeremy was convenience. They had to make this space work for them, even if it meant doing away with some of the standard features. They disconnected the propane heater, as they knew they would just be using electric space heaters when necessary. They also removed the upper galley sink cabinet and plumbing, since they wanted the extra counter space. Last to go was the small entry storage cabinet. It just took up too much space and really wasn’t large enough to hold any gear.
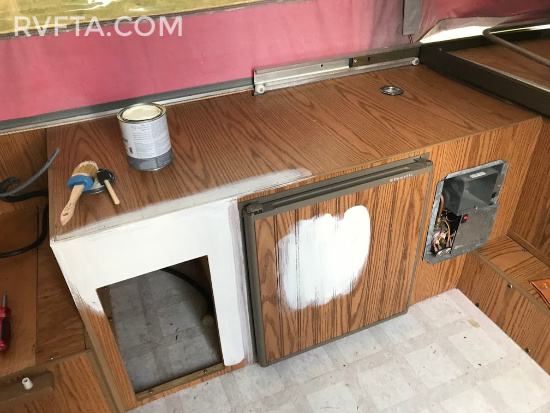 With those modifications out of the way, Stephanie got to work painting her cabinets. She applied two coats of Annie Sloan’s Chalk Paint. This is a great paint if you are going for minimal prep work, although, chalk paint does need a topcoat. One can was enough to give all the cabinetry in Stephanie’s camper two good coats. Then she applied a coat of Annie Sloan’s clear wax to finish it off. It wasn’t cheap, but Stephanie says it was worth every penny! 😉
 To give the floors a facelift, Stephanie selected an adhesive plank vinyl flooring. She enlisted the help of a neighbor who had just layed the very same floor in her own home. The whole process took only about 2 1/2 hours to complete. It was economical solution, too. They were able to finish the project for about $35. Can’t beat that!
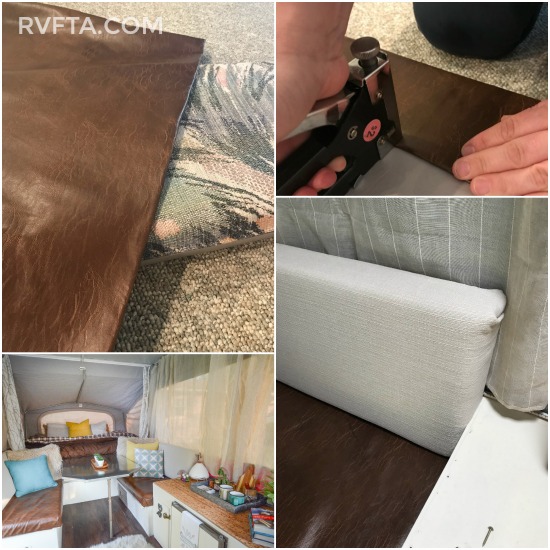 Then it was on to fabrics. Stephanie hit a little snag with her upholstery project. She purchased some awesome leather fabric to have her cushions professionally reupholstered. A fabric measuring mishap forced her to take another route. Thankfully, her friend, Sarah, was there to help her out. They purchased some plywood for the back of each seat and inserted it into the original covers. Then they used the “wrap and staple method” to cover the dinette cushions. The bottoms got that fantastic leather covering, and the backs were covered in a neutral fabric. It was super simple, and if Stephanie ever wants to recover her cushions in a new fabric, it will be easy-peasy.
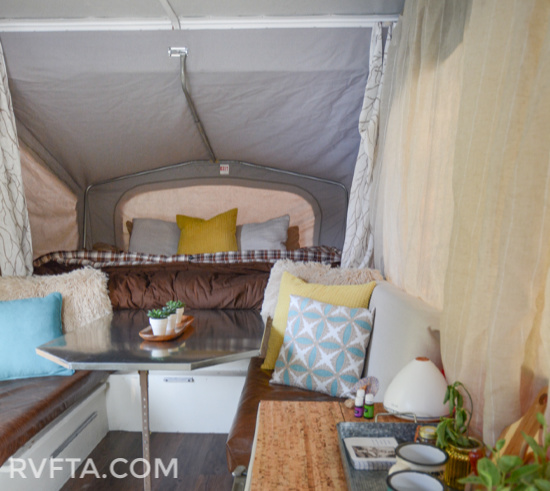 Obviously, those original maroon and floral curtains and valances had to go. Stephanie seriously considered having an experienced seamstress whip up some curtains for her camper, but she really wanted to keep this makeover budget-friendly. Instead, she purchased premade panels from Marshalls, cut the grommets off the top of each panel, and used Stitch Witchery along the seam. They look custom, don’t they? And they helped keep the remodel budget on track.
 Instead of purchasing new bedding, Stephanie grabbed their Cabela’s sleeping bags and laid them out across the bunks. Not only was this an economical choice, but the bedding is super cozy–especially in cooler weather. Another bonus is that these sleeping bags are really durable and hold up to three little boys without looking any worse for wear. What a great idea!
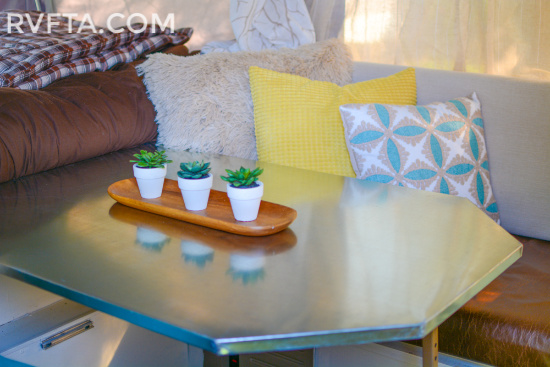 But my favorite part of the makeover has to be that table. Isn’t it amazing? Stephanie brought her original table down to a local metalworker and had him wrap it in galvanized steel. It only took a few days to complete, and it was completely worth it. Look at how it brings the whole makeover together?
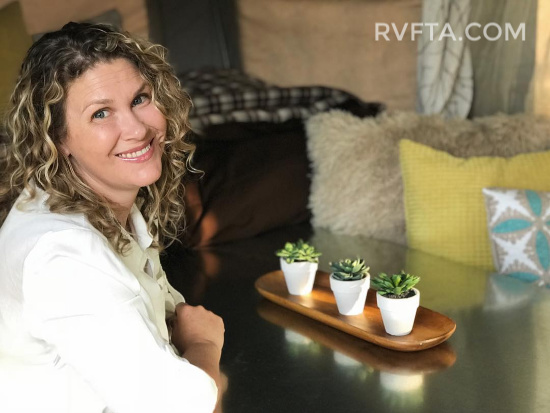 Even though Stephanie is an experienced RVer, she says this remodel project really forced her to step out of her comfort zone and learn new things. She says it’s so easy to get stuck in a rut, especially as a busy, working mother, and I totally agree. I think she did an amazing job, and I’m thrilled she decided to join the pop up camping community again. If you’d like to see more pictures and read all about Stephanie’s remodel, be sure to visit her site here and check it out. Make sure you’ve got some time, though. Stephanie and Jeremy are awesome, and there are so many great RV and camping related resources on their website. You’ll be there awhile. You can thank me later. 😉
Happy Camping!


It looks awesome!
Looks super comfy cozy! and I do love the table. Question?? How do you remove the propane heater (1994 Flagstaff) “my husband is no handyman”, and if you want or need something done, do it yourself, so I do 🙂
Love Stephanie, Jeremy, and RVFTA! Always fun to see the Pop Up Princess and RVFTA collaboration. 🙂
What a great make over. I love that table!