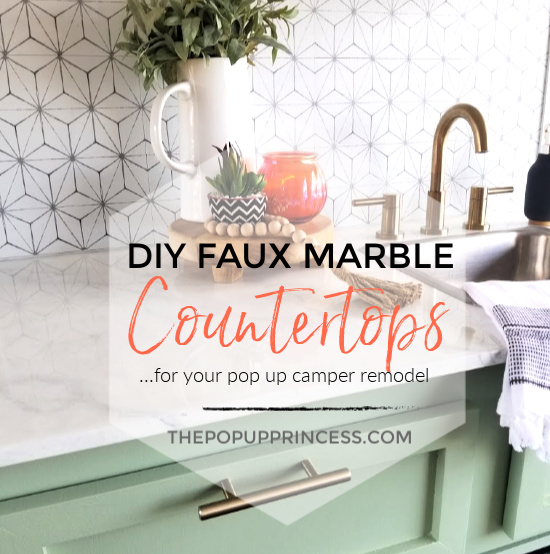
 We’ve been making some amazing progress on the Rockwood camper. If you’ve been following the remodel on our Instagram account, you’ve already seen these pretty countertops. I’ve been promising you guys a tutorial on just how we created them, and today we are finally ready to share it! Woo hoo! It has been a few weekss in the making, but thanks so much for being patient with us. We’ll have a companion video to this post (our first video ever!) ready shortly. If you want to see exactly how we did everything, be on the lookout for that. Until then, we’ll do our best to break it down in pictures for you.
SELECTING A FINISH
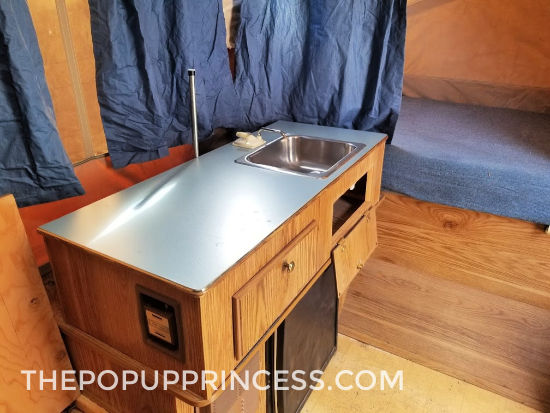 You may remember we started with these ugly counters. The countertops in the Rockwood had seen better days. Because there was a long term roof leak in the camper, there was considerable damage to everything on the interior–and that included the countertops. In addition to being just plain ugly, they were warped and water damaged. This meant we couldn’t reuse them. We had replaced the countertops in our Coleman (you can find that post here), so we knew we could do it easily. We wanted a different look for this little camper, though.
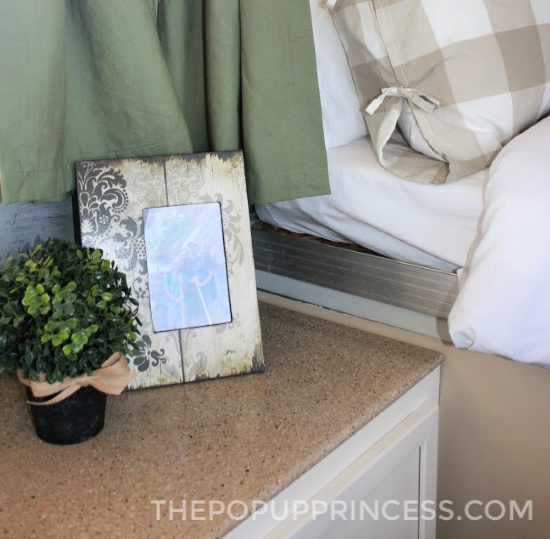 The countertop kit we used for the Coleman isn’t widely available anymore. You can sometimes find it on Amazon, but it is pricey. Honestly, I wanted something a little more understated with this camper. I selected a gorgeous shade of green for the cabinets, and I wanted them to be the showstoppers. I just wanted the countertops to be a subtle compliment to the real star of the remodel. 😆
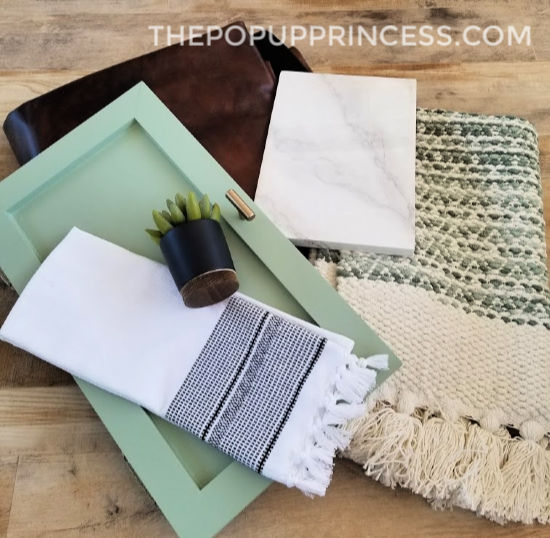 Once I started laying out some of my fabrics and finishes, I decided that Carrara marble would look gorgeous with those green cabinets. Now, realistically, a pop up camper just can’t handle the weight of real marble, so I started searching for faux options. Several of my readers have used marble printed adhesive paper on their existing countertops, and it looks amazing. You can see an example of that in Matt & Katie’s camper here. I just wasn’t sure about long term durability. We live in Arizona, and the heat is intense. Not many adhesives can hold up to it.
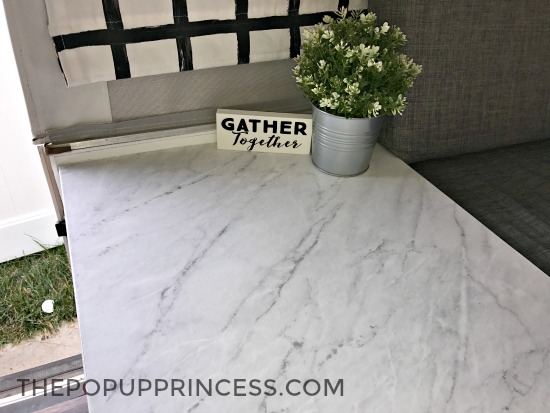 Then I came across this faux marble tutorial from Gorgeous Shiny Things, and I knew I had my answer. Even though I was a bit intimidated by the idea of it, I decided to paint our faux marble countertops. I am honestly so glad I did, because it couldn’t have been easier, and it turned out so gorgeous. Here is how we did it.
PREPARING THE SURFACE
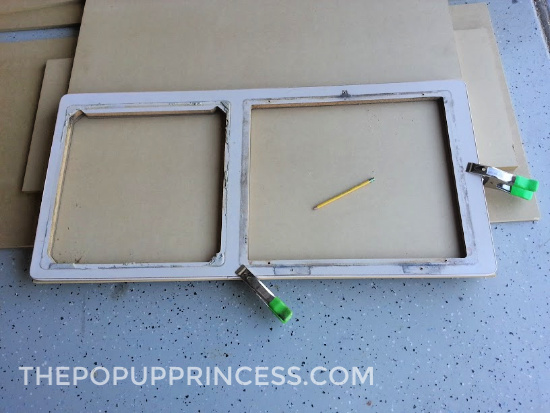 Before we get started, just a quick little word of advice… Because we needed to replace the countertops themselves, we cut new surfaces from MDF, much like we did in our Coleman. If you are refinishing your existing countertops, you can use the same painting method we did on your laminate. You’ll just need to sand it with a heavier (maybe 150 grit) sandpaper. I would also caution against painting the plastic t-molding, if your counters have that. In our experience, plastic t-molding doesn’t hold paint well in the long run. You are better off refinishing the surface of the counter only. Then you could replace the old trim with new coordinating t-molding. You can find our favorite white t-molding here.
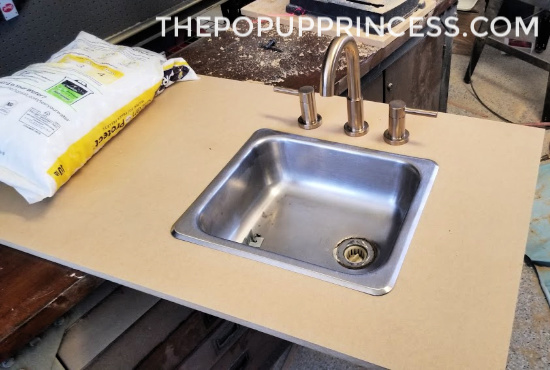 For our countertops, we selected 5/8″ MDF, since that was what was in the Rockwood originally. We didn’t want to add any extra weight by using a thicker wood. Using the measurements of the old ones as a guide, we cut new countertops. Since we weren’t rounding the edges and I wanted more of a real countertop kind of look, we added about 1/2″ on the sides that hang over the cabinet. Then we dry-fitted the sink and measured and cut holes for our new faucet. I promise we’ll get a tutorial up on how we switched out our pump faucet for a real bathroom one. I know there will be questions about that one. 😉
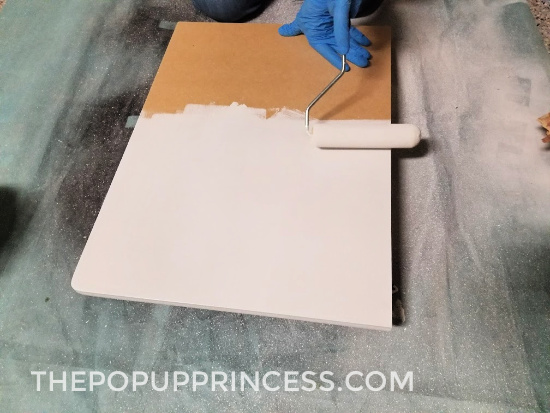 Then we gave everything a light sanding, wiped it down with a tack cloth, and gave both sides a coat of primer with a dense foam paint roller. Now this part is super important. We tried this method on our small cabinet countertop first using Zinsser Cover Stain, and after we applied the topcoat, the whole countertop turned yellow. Since we were going for a nice bright white, I was really disappointed. The epoxy topcoat apparently reacted with the oil-based primer and turned it yellow. We had to start over, but thankfully, we only had to repaint that small countertop. Make sure the primer you use is WATER BASED or you’ll have the same results. We used Zinsser 1-2-3 primer the second time around, and it worked perfectly.
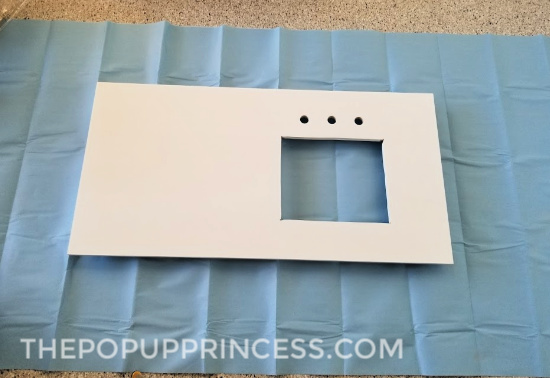 After the first coat of primer dried, we sanded lightly and painted on a second coat. If you cut your countertops from MDF, make sure to give special attention to the raw edges. Once you paint on the first coat of primer, it will make the wood swell a little. If you sand it and apply another coat of primer, you’ll get a nice smooth finish. As a last step, we took 800 grit sandpaper to the surface very lightly to prep it for the faux finish. Then it was on to the fun stuff.
PAINTING THE FAUX MARBLE
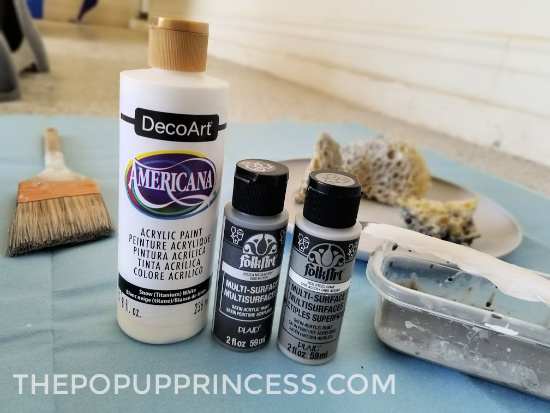 The absolute best part of this refinishing technique is that it is really cheap. If you don’t need to purchase MDF for new countertops, you’ll only require paint and epoxy. Here is what you’ll need:
- White acrylic paint
- Dark gray acrylic paint
- Light gray acrylic paint
- Artist’s sea sponges
- A dry paint brush (You can use a natural bristle brush like this one, but don’t use a chip brush. They will shed hairs into your finish.)
- Craft feathers (We found ours at Hobby Lobby.)
- 2-Part craft epoxy (We used Pro Marine Supplies Epoxy Resin)
- Notched plastic spreader (Available at Home Depot or Lowes. We used one like this.)
That’s it! I already had the paint in my craft stash. I used an old (but clean and dry) paintbrush we had in the garage. The only things I needed to purchase were the sea sponges, feathers, and craft epoxy. The craft epoxy was the pricey part, and I could have used high gloss polycrylic, but I wanted these countertops to look like real marble. That’s why we splurged and bought the pricey Pro Marine Supplies epoxy. I gotta say, it was totally worth the splurge.
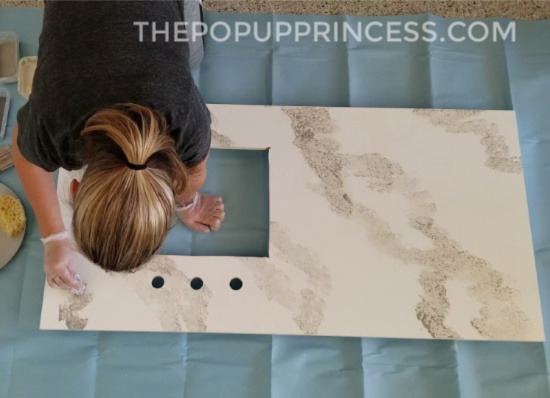 Start by watering all three shades of the acrylic paint down. I used a 1:1 ratio on all three paints. You’ll use a lot of white paint, so make a big batch of that one. Then take one of your sea sponges and give the entire surface a wash of white paint. I just sponged it on everywhere, making sure to cover the whole surface. After you have white washed your countertop, and while the paint is still wet, take another sponge and dab on a coat of the light gray paint mixture in the general areas you want your vein pattern to run. I wanted my veins to run diagonally across the countertop, so I sponged a few large vague vein patterns in light gray at a diagonal across the board. It helps to have a swatch or sample of marble to use as a guide. You can find pictures of marble all over the Internet. Pick one you like and work from that.
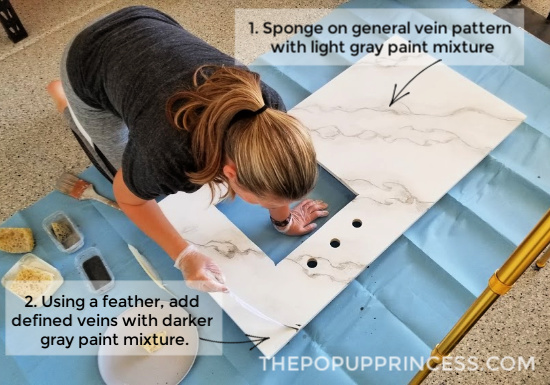 After I sponged my vein pattern on, I softened it with a dry brush. Sweep the dry brush back and forth over your pattern and dab or push the paint in the direction you want the vein to run. You can also soften the pattern by dabbing your white mixture back over the veins. There aren’t any hard or fast rules here. Just use your marble sample as a guide. I let the pattern dry for a few minutes, then I went in with my craft feather and darker gray paint and drew in the actual veins.
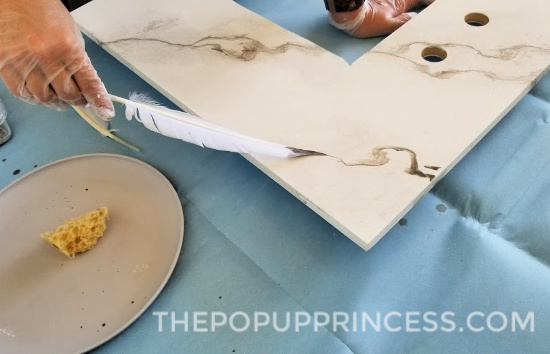 The feather actually makes this step super easy. Just dip the feather in your diluted dark gray paint and drag it along your vein patterns. Flip the feather occasionally, and just let the whole movement be organic. Don’t try too hard to paint the lines in. Just sort of drag them along, making sure to extend the veins down the edges of the countertop. You can use your sample as a guide, but ultimately, this part is just a matter of taste. I wanted my countertops to be super subtle, so I feathered the veins in very lightly. Then I went back over the veins with a dry brush and softened them quite a bit. You can add more or less definition depending on your preference.
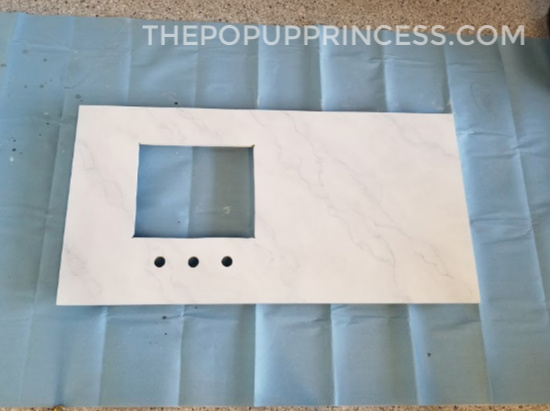 The whole process is very forgiving. If you don’t like something, it’s easy to “erase” it by dabbing white paint over it until it disappears. If something looks too stark and white, sponge a little bit of gray in. Once I was happy with my vein pattern, I gave it one last white wash. This helped lighten any dark spots and make the whole surface look uniform and even. Then I let the paint dry for several hours before giving it a quick pass with my 800 grit sandpaper. You want to hit it ever so lightly. This helps catch any high spots or fallen brush bristles and gives you a really smooth surface for your epoxy. Wipe it down with a tack cloth and you are ready for the topcoat.
APPLYING THE EPOXY TOPCOAT
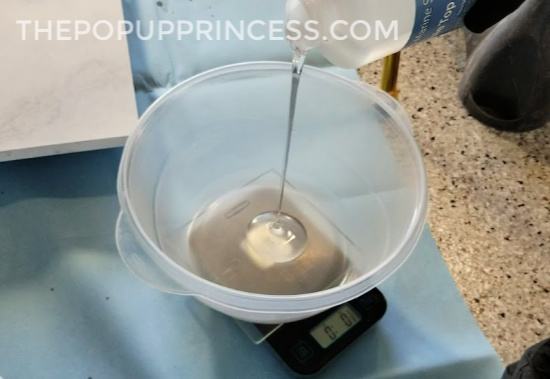 The next few steps will vary depending on the epoxy topcoat that you use. We selected the Pro Marine Supplies epoxy because it has great reviews and is supposed to resist yellowing. We’ve been really happy with it so far. No matter which epoxy coat you choose to use, before you apply it, you’ll want to don a pair of disposable gloves and wipe down the countertop with a shop paper towel and some rubbing alcohol. This will help remove the oils from your hands and prevent fish-eye type marks in the epoxy. Try not to touch the surface with your bare hands from this point on.
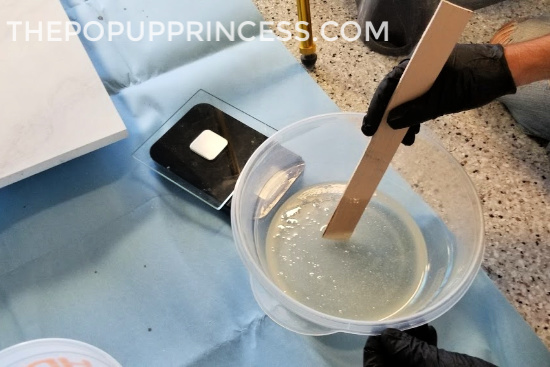 Every manufacturer is going to be different, so you’ll want to follow the directions for your particular epoxy coat. First determine the square footage of your countertop so you can mix the appropriate amount of material. Don’t skimp on the epoxy. You want a nice thick flood coat that drips generously over the edges of the countertops. Your epoxy manufacturer should include mixing directions and coverage charts. If you are using the Pro Marine Supplies epoxy, you can find mixing and coverage directions here.
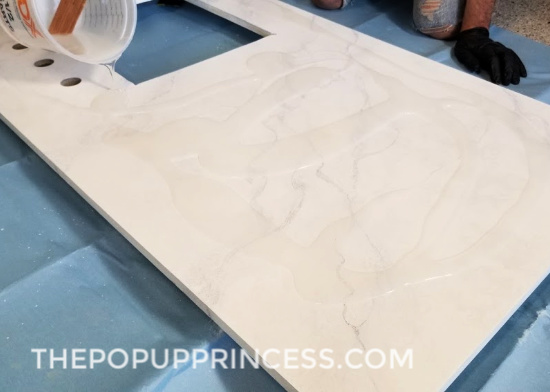 Once you’ve mixed your epoxy coat according to the manufacturer’s directions, you can pour it over your countertop in a circular motion. We used painter’s pyramid stands to raise the countertop up off the drop cloth and allow the topcoat to generously flood the sides of the surface. You could really use anything to raise it up as long as the countertop is completely level. We used our notched spreader to move the epoxy over the entire top of the countertop, pushing it over the edges of the surface. This gives the sides a nice glossy finish as well. As Justin was spreading the epoxy, I took a sponge brush to the edges and the bottom edge of the countertop to catch any drips and ensure a good, even coat.
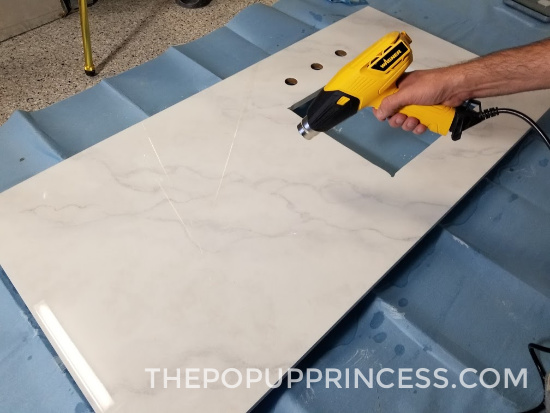 At this point, your epoxy is going to be full of air bubbles. Don’t worry. You can achieve a glassy finish by taking a heat source to the surface. We used our heat gun (we’ve got this model), but I have heard you can use a blow torch or even a hair dryer to smooth out the epoxy. It’s actually really cool to watch the bubbles melt away. Mesmerizing even. 😆 The Pro Marine Supplies epoxy quick sets in 60 minutes, so we simply ran the heat gun over the surface for a few minutes every 15 minutes of the first hour to make sure the finish was perfect. For the first 30 minutes or so, we were able to gently pick out hair or bugs that landed in the epoxy and use the heat gun to smooth out the surface again. After that 60 minutes, you aren’t going to be able to work with the epoxy anymore without ruining it. You’ll want to watch the epoxy closely in the beginning to catch any imperfections before they become permanent. You’ll also want to periodically swipe a foam brush on the underside of the countertop to catch any drips before they set.
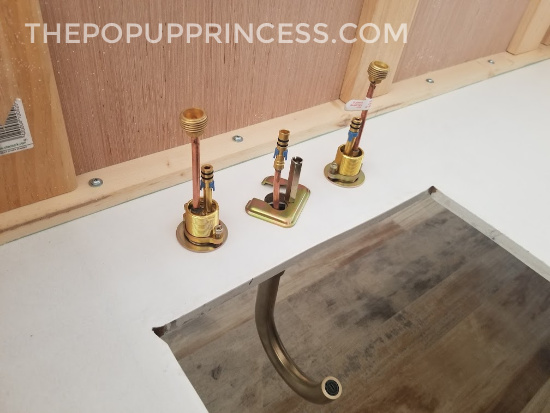 It takes awhile for the epoxy to completely cure, and you’ll need to leave your countertop in a place where the temperature is consistently above 75 degrees. We’re in Arizona, so that was no problem for us at all. Our garage was plenty warm. We just set the countertops in a corner of the garage and worked on other projects for a few days. We let the epoxy cure for a full 72 hours before we carefully attached it to the new cabinets. You’ll want to reattach the countertops the same way they were attached originally. Ours are just screwed into the pine frame of the cabinet. If you are repainting your original countertops, and you left them in place, you can obviously skip this step.
THE FINISHED PRODUCT
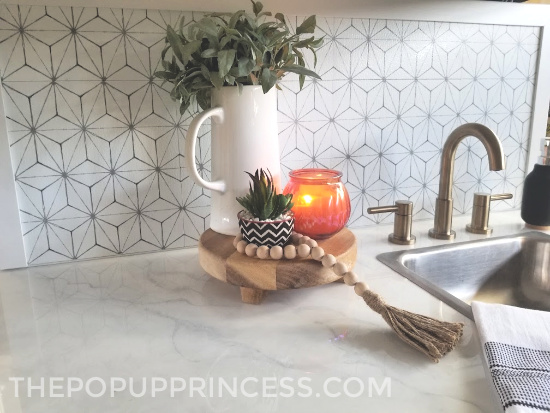
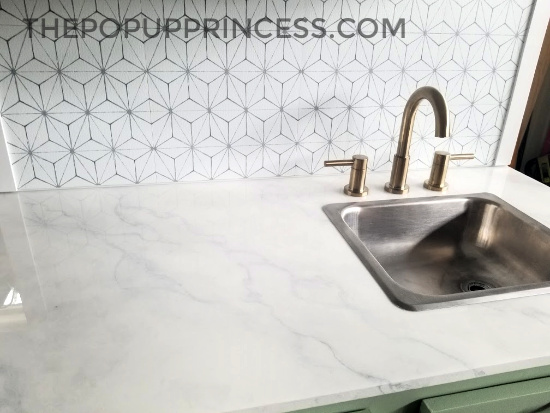 And that’s all there is to it! The whole project cost us less than $100, and they would have been even cheaper if we didn’t have to buy MDF for new countertops. They are pretty fabulous, right? Everyone who sees them thinks they are real. People can’t believe we put Carrara marble in a pop up camper and are floored when we tell them it is painted wood. The epoxy really makes them look authentic, and you can only tell they are painted if you look very closely.
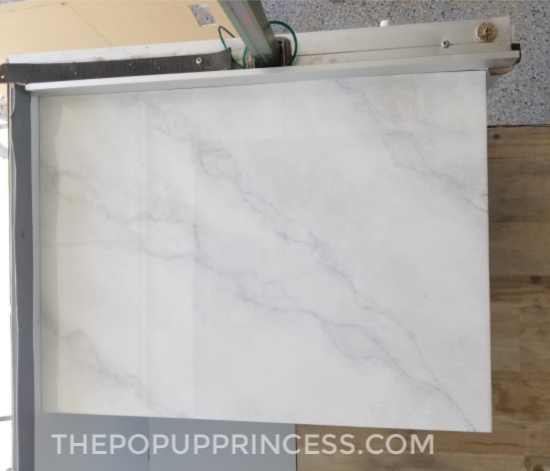 It’s amazing what a little paint can do. These countertops are the perfect compliment to my pretty green cabinets, and they are exactly what I was hoping for. I am so pleased with how this little Rockwood is all coming together. If you haven’t already, make sure you are following us on Instagram. We often post little sneak peeks of the PUP as we are working on it, and we’d love for you to see what we’ve been up to. It won’t be long now before we are camping in this old gal, and I just cannot wait. 😀
Disclaimer: This post contains Amazon affiliate links. The Pop Up Princess is a participant in the Amazon Services LLC Associates Program, an affiliate advertising program designed to provide a means for sites to earn advertising fees by advertising and linking to Amazon.com. This means that if you choose to purchase an item from a link in this post, The Pop Up Princess earns a small advertising fee to help pay for future projects and posts… so thank you!
Happy Camping!


That’s looks awesome!!! Can’t wait to see finished project.
Thanks, Carla. It’s coming along. 🙂
It looks really amazing. I might try this.
Were you tempted to put in a slightly larger sink?
I was, but I am so trying to keep the budget modest on this makeover. The roof rebuild was a little pricey. 😆
Congratulations, they are stunning!!
Thank you! 🙂
Absolutely gorgeous!! I wouldn’t mind it in my kitchen at home… do I have enough time to do this before Friday’s trip? I wish 🙂
Gorgeous! I can’t wait to see the whole remodel.
Thanks, Sara. It won’t be long. 😉
Are your remodeled campers for sale? Or do you keep them for yourself?
This is only our second remodel, Dusty. We are keeping them both for the time being. Our kids are getting a little older, and we would like to have a smaller inexpensive PUP they could take out on their own if they wanted. The Rockwood is perfect for that. 🙂
How many square feet does the epoxy cover? I want to be sure to order enough! TIA
There is a great instruction manual HERE for the West Marine Epoxy. The instructions start around page 28. It has all the info you’ll need. 🙂
Larissa, how did your countertops hold up?
So far, so good. We haven’t really been able to use the camper, but it has been out in the heat with ill effects. 🙂
Hi, I was just wondering what the paint is called that you used on the cabinets, it’s beautiful
It’s called Fresh Thyme from Dunn Edwards. You can read about the cabinets here.