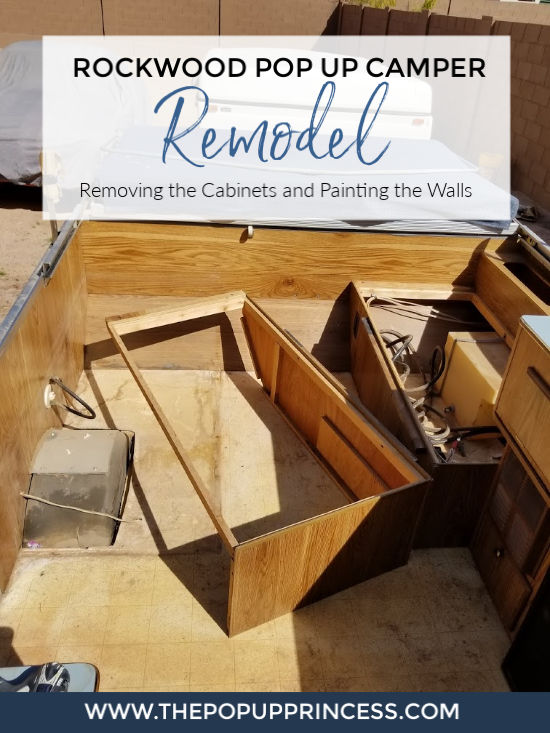
 We have been making some awesome progress on our Rockwood pop up camper project. Now that the roof rebuild is out of the way (you can find more on that here, here, and here), we have been working on the interior. The first thing on the agenda was demolition. We gave the camper a general cleaning and starting ripping crap out. 😆
REMOVING THE CABINETS
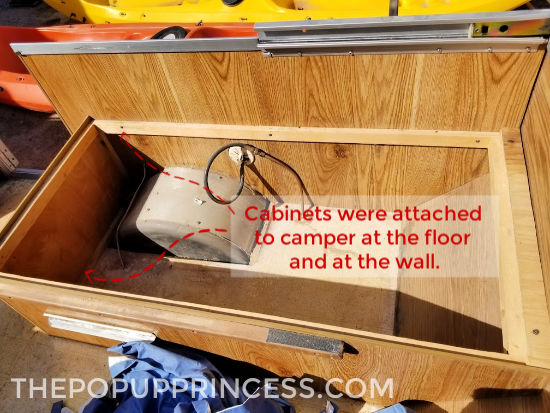 Okay, we didn’t literally start ripping stuff out. First, we took LOTS of pictures and labeled everything. This little Rockwood is made a little differently than our Coleman. Even though we now have quite a bit of experience with our other pop up camper, we wanted to make sure everything went smoothly when we put this baby back together. So as we went along, we documented everything.
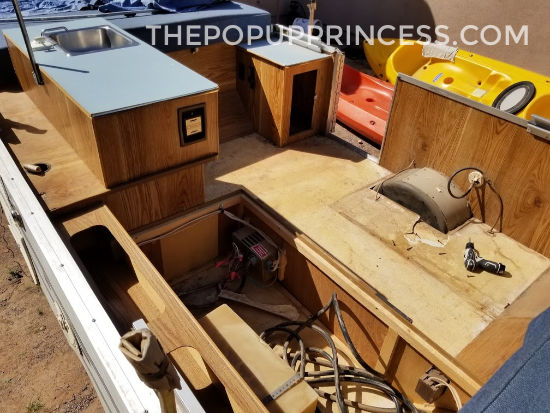 Most of the cabinets were attached to the wall and the floor by a whole lotta screws. So to remove the actual cabinetry, we removed all the screws and lifted each cabinet up out of the camper. It helped that the roof and canvas were still off the camper at this point. It made the demolition move pretty quickly. We didn’t have to maneuver cabinets through a narrow door opening. We just lifted them up and over the side, and they were out.
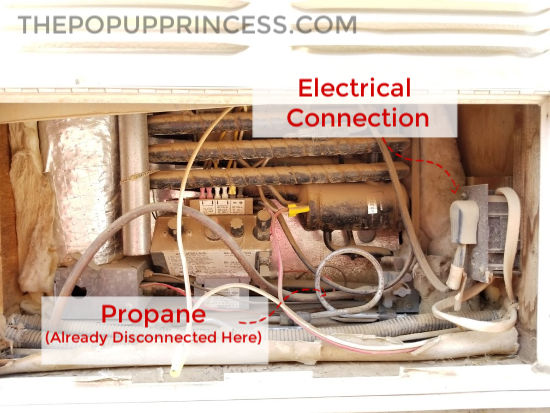
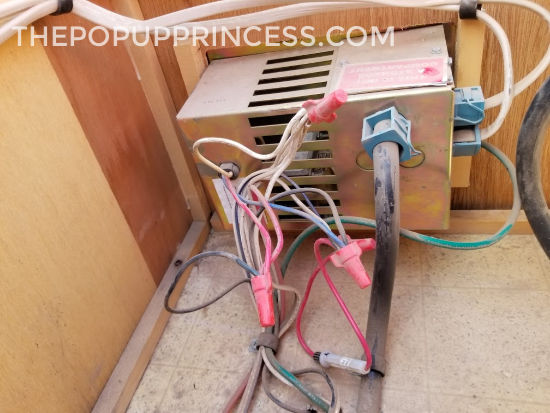 When we got to the electrical and plumbing, it was especially important to take lots of pictures label everything. The heater, fridge, and converter all came out pretty easily. It was just a matter of removing screws. There is an access panel for the fridge on the outside of the camper. Just open that up, disconnect the propane and unplug the electrical. Once the screws are removed, the fridge pops right out.
 PREPPING THE WALLS FOR PAINT
After we had everything cleared out of the camper, we pulled up the old linoleum. We’ll cover that in a little more detail when we post about the new flooring installation. I have a really pretty color picked out for the cabinets, but I knew I wanted the walls to be a clean white. The walls of this camper are a little different from our Coleman. Those had a textured wallpaper covering. These walls are made of luan and have that awful wood grain printed paper adhered to the surface, much like most RV cabinets. It makes painting a little tricky, so prep work is definitely a must.
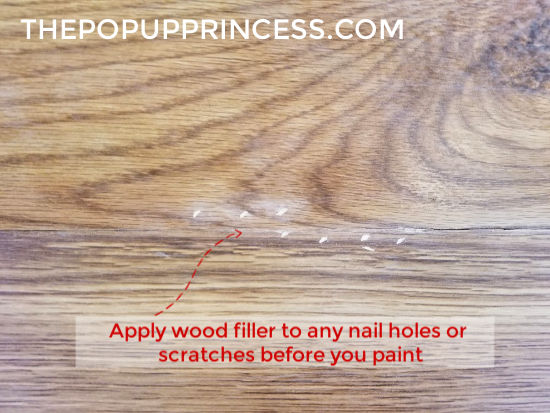 We started by cleaning the walls really well and wiping them down with a TSP solution. This helps remove any built-up grime and oil. If you have any exposed wood, TSP (or any liquid cleaner for that matter) will make it swell, so be extremely careful. I avoided any exposed wood altogether and just hit that really well in the sanding step. Then I applied wood filler to any stray nail holes or deep scratches. They may be hidden in the pattern of the wood grain, but once you paint those surfaces, the nail holes will really stand out. If you want a pretty, smooth surface, patch those imperfections.
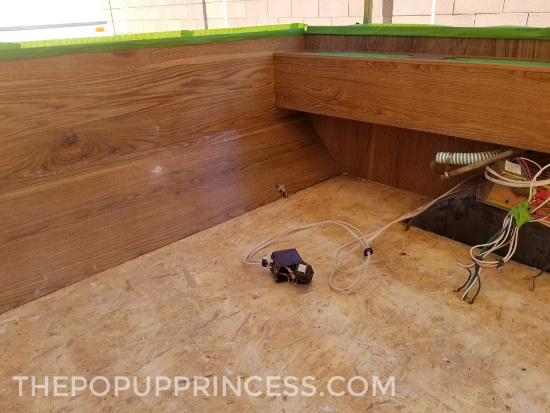
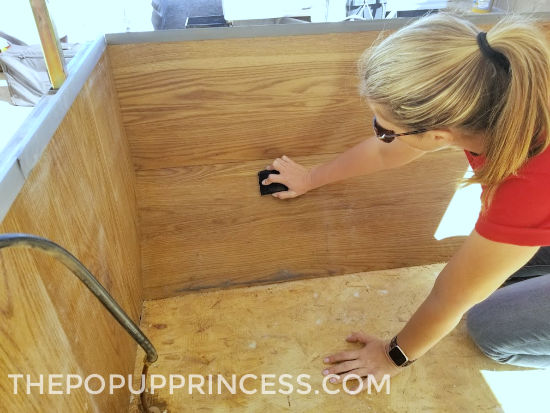 To sand all the walls down, we used a 320 grit sandpaper. You don’t want to make deep scratches in the surface, but you do want to make sure the paint has some tooth to adhere to properly. An extra fine sandpaper works really well for this. Then you’ll want to wipe everything down with a tack cloth to remove the dust and tape off any surfaces you want to protect.
PAINTING YOUR POP UP CAMPER WALLS AND CABINETS
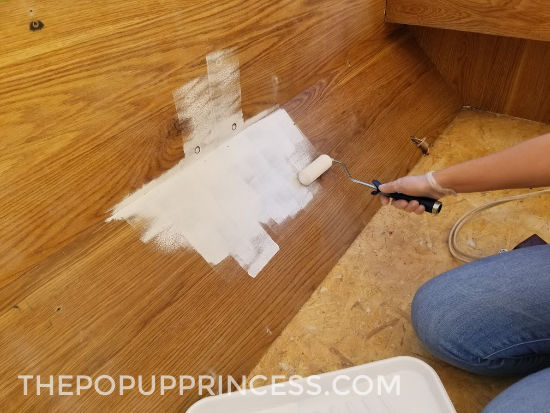 Once all the prep work was complete, we gave everything a good two coats of primer. Primer is super important, especially since the wood surfaces in your pop up camper are likely not really wood. You want a good primer that will adhere to most surfaces. We love Zinsser primers. We used Zinsser Cover Stain for this particular project, because it is oil-based, and we love the durability of oil-based paints and primers. They are a little harder to clean up–and they kinda smell awful, so use a respirator–but you can’t beat the finish. It goes on smoothly and sands easily. If you are looking for a water-based primer, we like Zinsser Bulls Eye 1-2-3. It’s a little easier to clean up, but it also covers well. And either primer accepts both water and oil-based paint topcoats, so that is an added bonus.
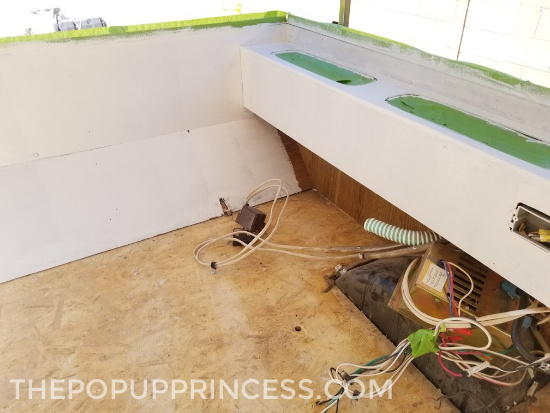 Once the primer was dry, we applied two coats of Rustoleum white oil-based paint in a satin finish. We used dense foam paint rollers specifically designed for cabinet painting, and they worked like a dream. To cut in the edges, we used disposable foam brushes. Oil-based paint is really killer to clean up, so we opted for disposable tools on this step. The picture above shows what the walls looked like after two coats of primer, but I’ll give you a little sneak peak of what the camper looks like after two coats of paint, a new floor, and some partially finished cabinets. 😉
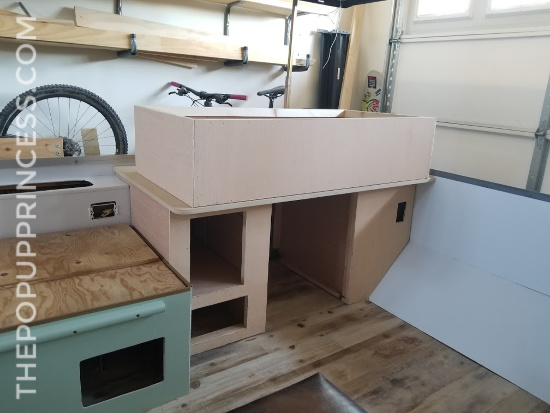 Yep, we are rebuilding all the cabinets from scratch. It’s been a long few weeks, and Justin is probably regretting this little project right about now. But she is really coming together nicely, and I can’t wait to share the rest of the remodel with you guys. Let me know if you have any questions on how we prepped and painted the walls, and don’t forget to follow us on Instagram. We are sharing lots fun pictures on our Instagram stories that we haven’t posted here, so head on over and check it out.
Disclaimer: This post contains Amazon affiliate links. The Pop Up Princess is a participant in the Amazon Services LLC Associates Program, an affiliate advertising program designed to provide a means for sites to earn advertising fees by advertising and linking to Amazon.com. This means that if you choose to purchase an item from a link in this post, The Pop Up Princess earns a small advertising fee to help pay for future projects and posts… so thank you!
Happy Camping!


 PREPPING THE WALLS FOR PAINT
Why oil based?
You can use whatever you like or have on hand. Lots of readers have used latex, but we have never had good results with it. 🙁 We get visible brush strokes and the paint chips and scratches easily. Oil-based is really durable, which is why we like it. You could also use enamel or alkyd (what we are using for this camper) paint. Alkyd is a hybrid paint. Has the durability of oil-based, but easy clean up like water-based. I *love* the paint we are using on this camper. Like love, love. I’ll post on that really soon.
Does building your own cabinets add to the weight of the camper? What materials did you use?
It honestly depends on what you use. We are using luan and thin pine framing, just like the originals. The new cabinets are similar in weight to the original ones. We’ll have a post up on that really soon, Janet! 😉
Does the paint need a topcoat?
It depends on the paint you use. If you use an oil-based paint and primer, you should be fine.
When painting original cabinetry, do you remove the t trim? I’ve seen the links to buy new trim. Mine is in good shape but ugly:)
You can find all the details about painting your cabinets in this post, Rachelle. We don’t recommend painting the t-molding, as it is flexible and doesn’t hold paint well. We initially painted ours, but eventually had to remove it and replace it. The paint was peeling off of it (despite using a primer for plastics), and it just looked awful. 🙁
We are getting ready to start an already gutted pop up remodel. It’s a ’68 Apache canvas Ramada. I haven’t found many post on canvas Ramadas, so we are excited. The problem is, I haven’t found anywhere to get replacement cabinets for pop ups. Can you help us out?
We recently rebuilt the cabinets for the Rockwood. It was a pretty simple process. If you are a DIY kind of person, you may want to take on that project yourself. Here’s our tutorial.
Can you clean the cabinets with something other than the TSP solution
I am sure you can, Cindy. We like TSP because it removes all the residue and leaves us with a nice surface to prep for paint. 🙂