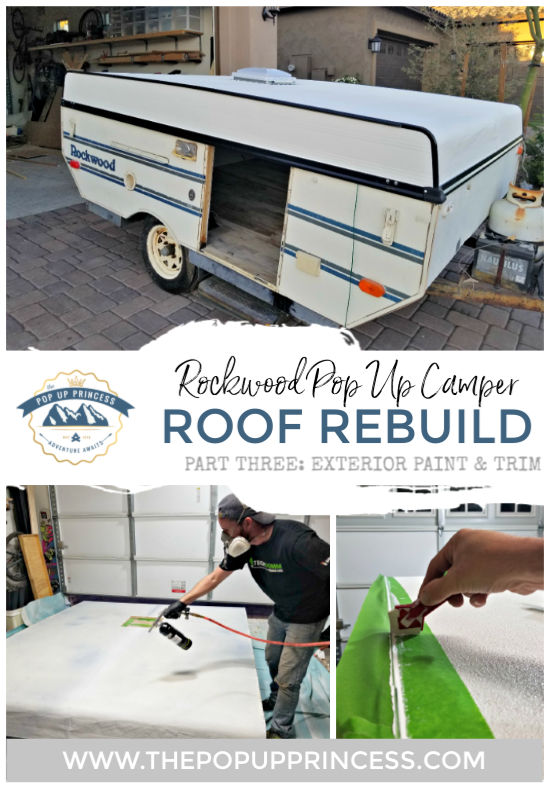
 I hope you all are having a fabulous weekend. We’ve been plugging away on the Rockwood pop up camper project, and I have to say that it is coming along quite nicely. We are mostly finished with the roof rebuild. Can you believe it? It wasn’t nearly as difficult as we thought it would be. If you missed the first two posts in our roof rebuild project, you can find the demolition here and the interior and ceiling rebuild here.
 With the interior completely finished, we moved on to the exterior. I have a pretty specific vision for this little pop up camper, and Justin just follows along with my crazy ideas. 😆 He’s such a good sport! I really wanted the roof to be white and the trim to be black. First up was painting the shell of the roof, and that meant lots of prep work.
PREPARING THE SURFACE FOR PAINT
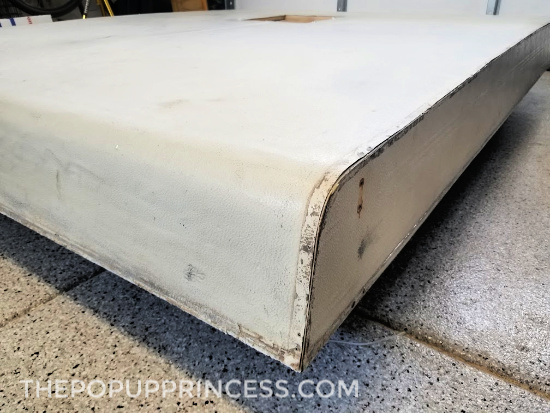 There was a lot of oxidized paint on the exterior of the camper. This thing had been out in the sun for years, so the first thing we did was scrub the heck out of the aluminum skin. We used a coarse Scotch Brite pad and some TSP cleaner. Make sure you wipe the surface down with a damp rag periodically while cleaning to remove any residue. Once we were satisfied with the surface, we moved on to repairing the holes and large dents in the aluminum skin.
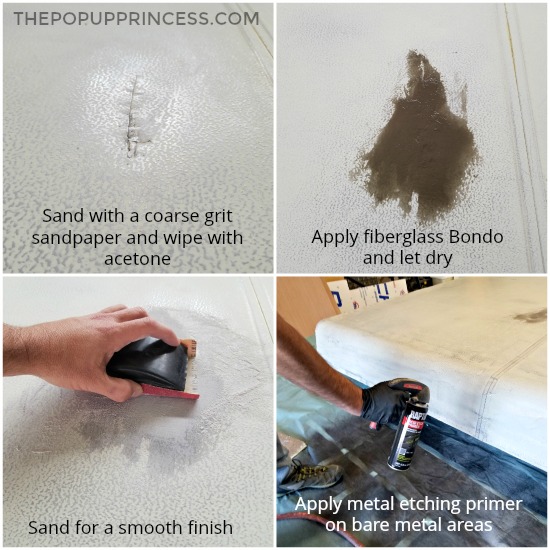 We chose to patch our roof with fiberglass Bondo. We knew we were going to be painting the surface with a textured paint, so Bondo worked for us. If you are simply painting with a elastomeric paint or roof coating, you will see smooth spots where you patched with this method, so be aware of that. We had some pretty severe damage to roof, though, so this seemed like a good option for our repairs. We sanded and cleaned the damaged spots (remember from our last post that we applied Eternabond tape to the inside of the roof on these areas). Then we applied the Bondo and let it dry.
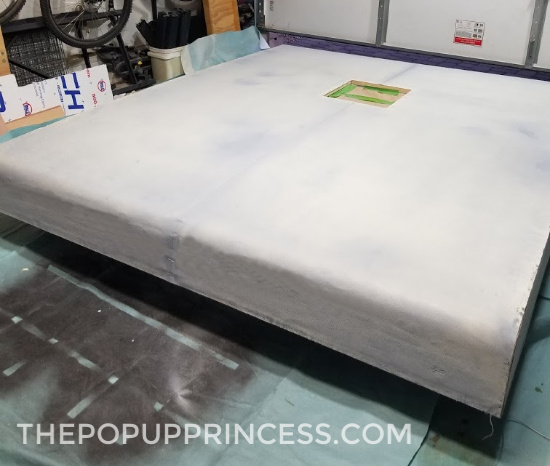 Once the Bondo had cured, we sanded it smooth and wiped it clean. Then we applied metal etching primer–we used this one from U-Pol–to any bare metal. We decided to coat the roof with a coarse bedliner paint. This would hide any imperfections and help prevent any further UV or water damage. With all the rough spots repaired, we wiped the roof one last time and sprayed the entire surface with U-Pol Raptor Adhesion Promoter.
PAINTING THE CAMPER ROOF
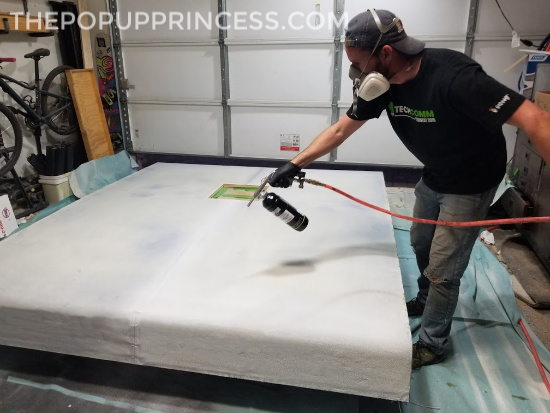 With all the prep work done, we were ready for our paint. After watching about a million YouTube videos and reading up on all the bedliner products, we selected U-Pol Raptor to paint the repaired roof. It was a little on the pricey side as far as paint goes, but right in line with the price of other bedliner products we’ve used. We really liked that we could mix it up and use the included gun to spray it on. This meant we got a really nice, even finish.
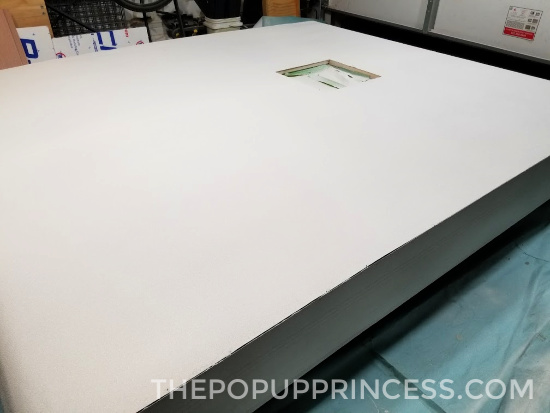 It took about four liters to finish the job. We used two liters on the first coat, and the remaining two liters on the second. I love how it turned out. In fact, I like it more than the Grizzly Grip we used on our Coleman ABS roof repair. It was definitely a much easier process to apply, and it really hides all the repairs and imperfections in the roof.
INSTALLING THE ROOF VENT
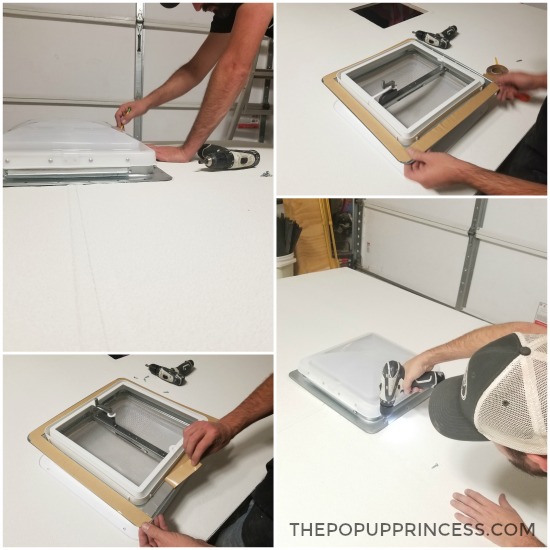 After the bedliner paint dried, we installed a new RV roof vent. We purchased this Camco roof vent and installation kit from Amazon. It was really close to the one that was in there originally. First, we set the vent in place and marked where to install it. Then we applied the butyl tape from the installation kit to the back of the vent plate. We placed the vent within our previous markings and screwed it into place.
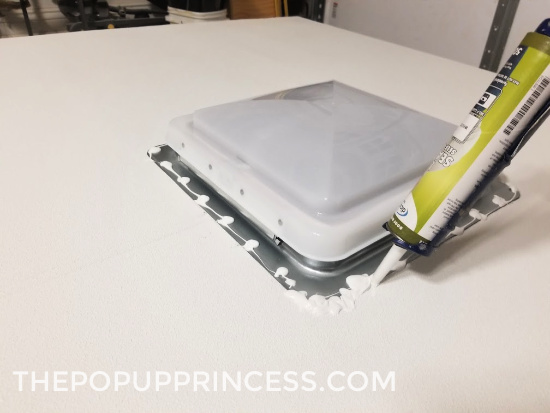 To prevent it from leaking in the future, we applied Dicor Self-Leveling Lap Sealant. Now, I admit, I am a perfectionist, so this next step was really hard for me. 😆 I am not crazy about the way lap sealant looks, because it isn’t perfect and pretty. It makes a pretty solid seal, though, so I can live with it. Make sure you drop a bead of sealant on each screw head, then zig-zag sealant along the seam of the vent and roof, making sure to get it on both the vent plate and the roof. Don’t worry if it looks a little “zig-zaggy” when you’re done. It’s self-leveling, so it will all even out before it dries.
INSTALLING THE TRIM
Remember that vision I had for the camper? The one that involved a lot of extra work for Justin? Well, because of that vision, we had to paint the trim of the camper roof black. It was quite a bit of effort, because we had to remove all the old caulking and butyl tape, sand the trim, clean with acetone, prime with metal etching primer, then spray each piece with several coats of Rustoleum black spray paint.
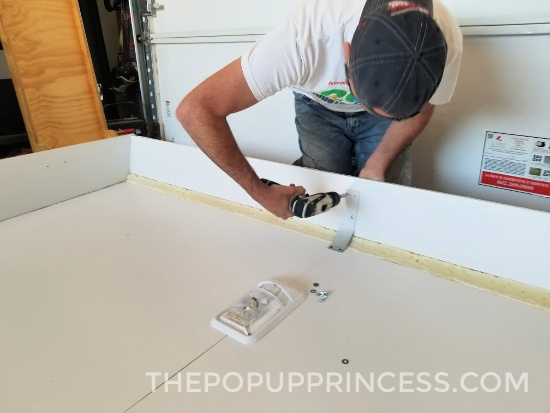
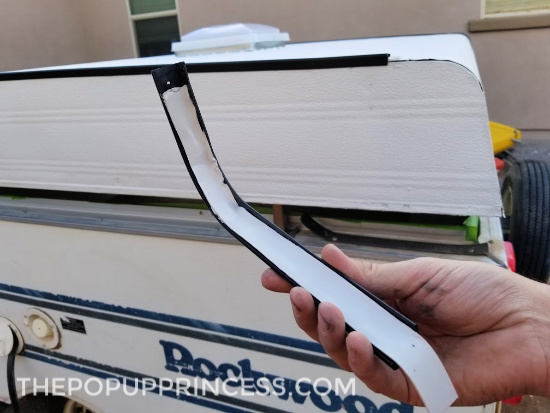 The results were absolutely worth all the work, though. I love how the black pops against the new white roof. Once we put the roof back on the camper, we installed the new trim by applying butyl tape to the back side of each piece. Peel off the paper backing, set the trim in place, and attach with screws.
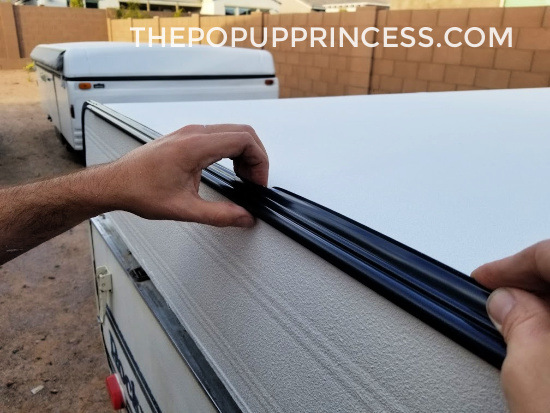 The butyl tape will squish out the sides and screw holes, but you can just remove the excess after you’ve attached all the trim. Once all the trim was attached, we installed a pretty new black 3/4″ vinyl insert, which we purchased on Amazon. This part was a little tricky. It helps to warm up the vinyl insert a little before you install it. It will allowthe vinyl bend a little better. We set it out in the sun for a bit. Then we pinched the ends of the insert together to round it a little before tucking each end into the trim piece.
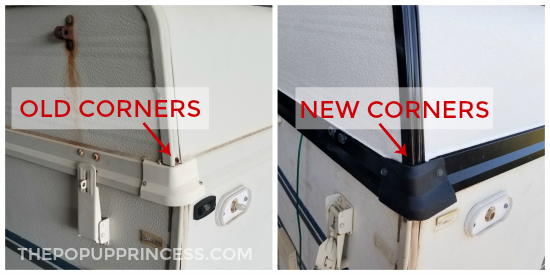 We put the corners on last. Most of our original trim corners were broken, so we hunted down new ones online. We had to trim and shape them with a heat gun and some scissors a little bit to get them to fit properly. Apparently, Rockwood makes the same plastic corners for all years and models of pop up campers they make. You just have to trim them down to fit your particular camper. That was a bit of a challenge, but we wrestled with them until they looked pretty decent. They aren’t perfect, but so much better than the broken ones.
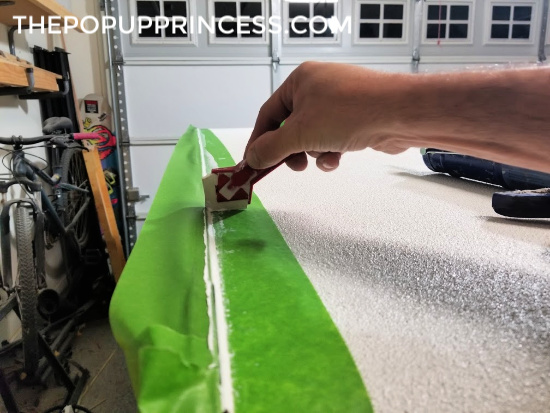 The last step was to caulk all the trim. We used Dicor Non-Sag Lap Sealant for this step. Do not use the self-leveling lap sealant you used for the vent. It will sag down the sides of the camper, and it won’t look pretty. To make sure you get a nice, clean line, place a strip of painters tape on either side of the sealant line. Run your bead of caulk next to the trim and use a caulk tool like this one to get a smooth, consistent application. Remove the tape while the sealant is still tacky. You’ll have a perfect line of caulk right up next to your roof trim.
THE FINAL RESULT
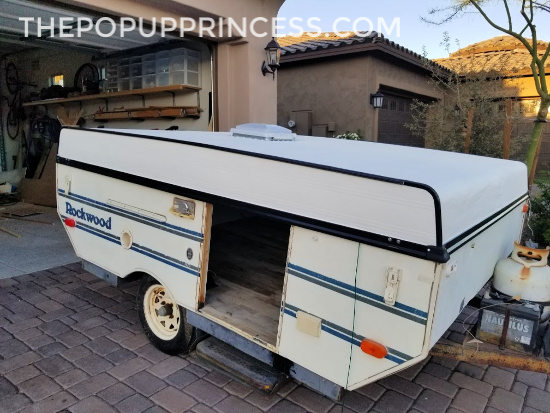 You can see how nice it all turned out. We’ve basically got a brand new roof now. We still need to purchase a bulb seal for the bottom of the roof and install the door. We’ve got some cool decals in store, too, but other than that, we are pretty much done with this roof rebuild. I think we nailed it! It wasn’t too terribly hard, just a little time consuming. If a roof rebuild is in your future, we hope this series of posts helped ease your fears. You can do this! And if you missed our previous posts on this pop up camper roof rebuild, you can find them here:
ROCKWOOD POP UP CAMPER ROOF REBUILD: PART ONE
ROCKWOOD POP UP CAMPER ROOF REBUILD: PART TWO
 Now that the roof looks so beautiful, you can really see how bad the rest of the camper looks. We’re going to have to work on that, but that is definitely a project for another time. 😉
Disclaimer: This post contains Amazon affiliate links. The Pop Up Princess is a participant in the Amazon Services LLC Associates Program, an affiliate advertising program designed to provide a means for sites to earn advertising fees by advertising and linking to Amazon.com. This means that if you choose to purchase an item from a link in this post, The Pop Up Princess earns a small advertising fee to help pay for future projects and posts… so thank you!
Happy Camping!


Wow, it’s really turned out nice. Love the black trim as well. I need to paint my roof so your painting tips will come in handy. Thanks for the great article!
Looks great! WIll you put any protectant on the roof or is it just fine the way it is?
We did use Dicor sealant on all the trim, but that is it. The bedliner is pretty awesome. It will do a great job protecting the roof. 🙂
Thanks for the post! We are going to try some of these tips and tricks on our 2008 Starcraft roof. The bondo looks great! Would you recommend using any of the disor self leveling caulk or vinyl caulking inside if the hold or did you just 100% trust the bondo?
Thanks!
The Bondo did a great job of repairing the damage to the roof, Star. We’re super happy with how it turned out.
How many hours and/or days did this take you to take off roof, repair, put back together and reseal roof do you think?
It took us about 3 weekends. We did work on it quite a bit, but it wasn’t an all-encompassing job. We took big breaks and worked at a leisurely pace.
Do you know how to fix an awning strip. My parents surprised my boyfriend and I with our very own 1998 Colman sea pine pop up. I would love to be able to fix the awning so that we can put our outside kitchen under some sort of protection. The strip that holds the awning in place is completely cracked and falling apart. And the awning part is very hard, and stiff. Do have any recommendations on how to either fix this or where to get a new one ?
You can take the bag into an upholstery shop and have a new one made if the awning is still in great shape. We’ve had that done on our Coleman camper. For the Rockwood, we just purchased a new Dometic bag awning from Camping World. I haven’t had a chance to set it up yet, so I can’t give a good recommendation. I’ll let you know how it holds up once we’ve had a chance to use it. 😉
Hello, I hope you are still seeing these messages. We have a StarCraft trailer with a seam down the middle of the roof. Can we use a bedliner paint on this as well? I think we have to lay the sealant tape down from what I’ve read? Any words of wisdom?
Tx